
DIY Floating Wood Mantle

We finally have our living walls and fireplace painted so I was dying to get a mantle built and installed. The whole room looked bare without one! I had my heart set on a floating wood mantle but of course everything online is either pricey or I felt a little uneasy about ordering one. So we decided to just build one ourselves. We got wood from Home Depot and use our brad nailer, some wood glue, and that’s it!
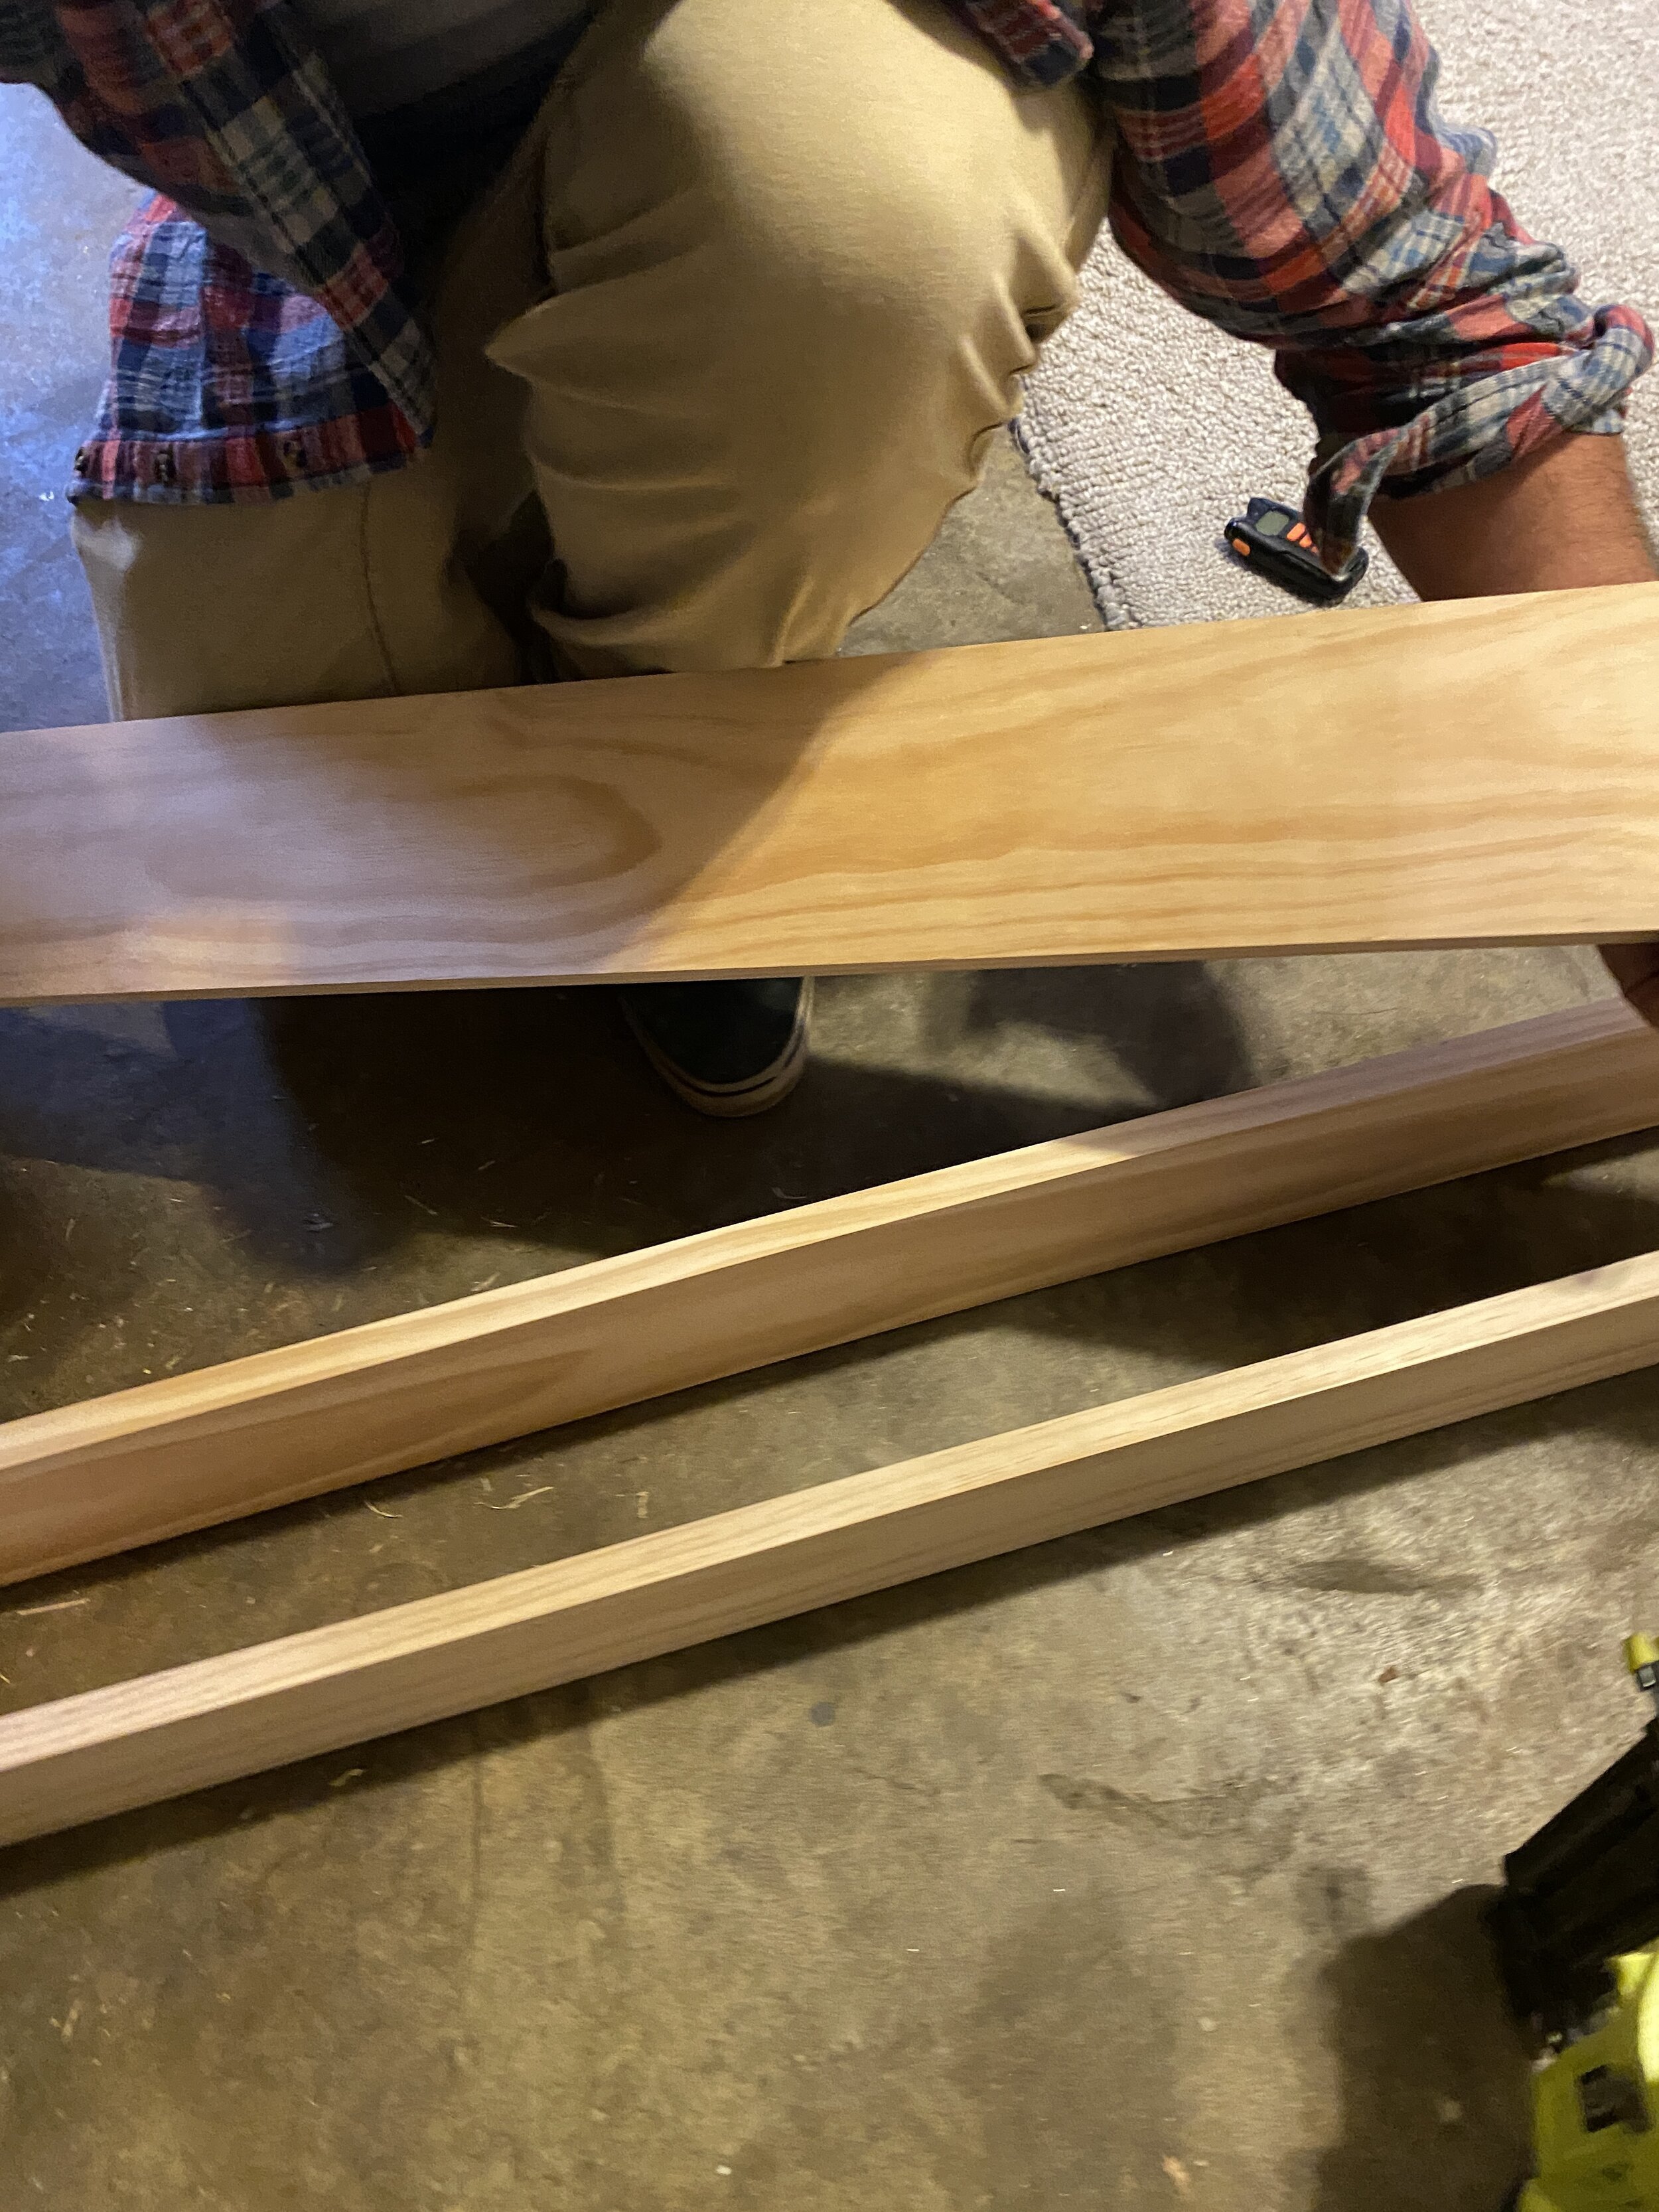
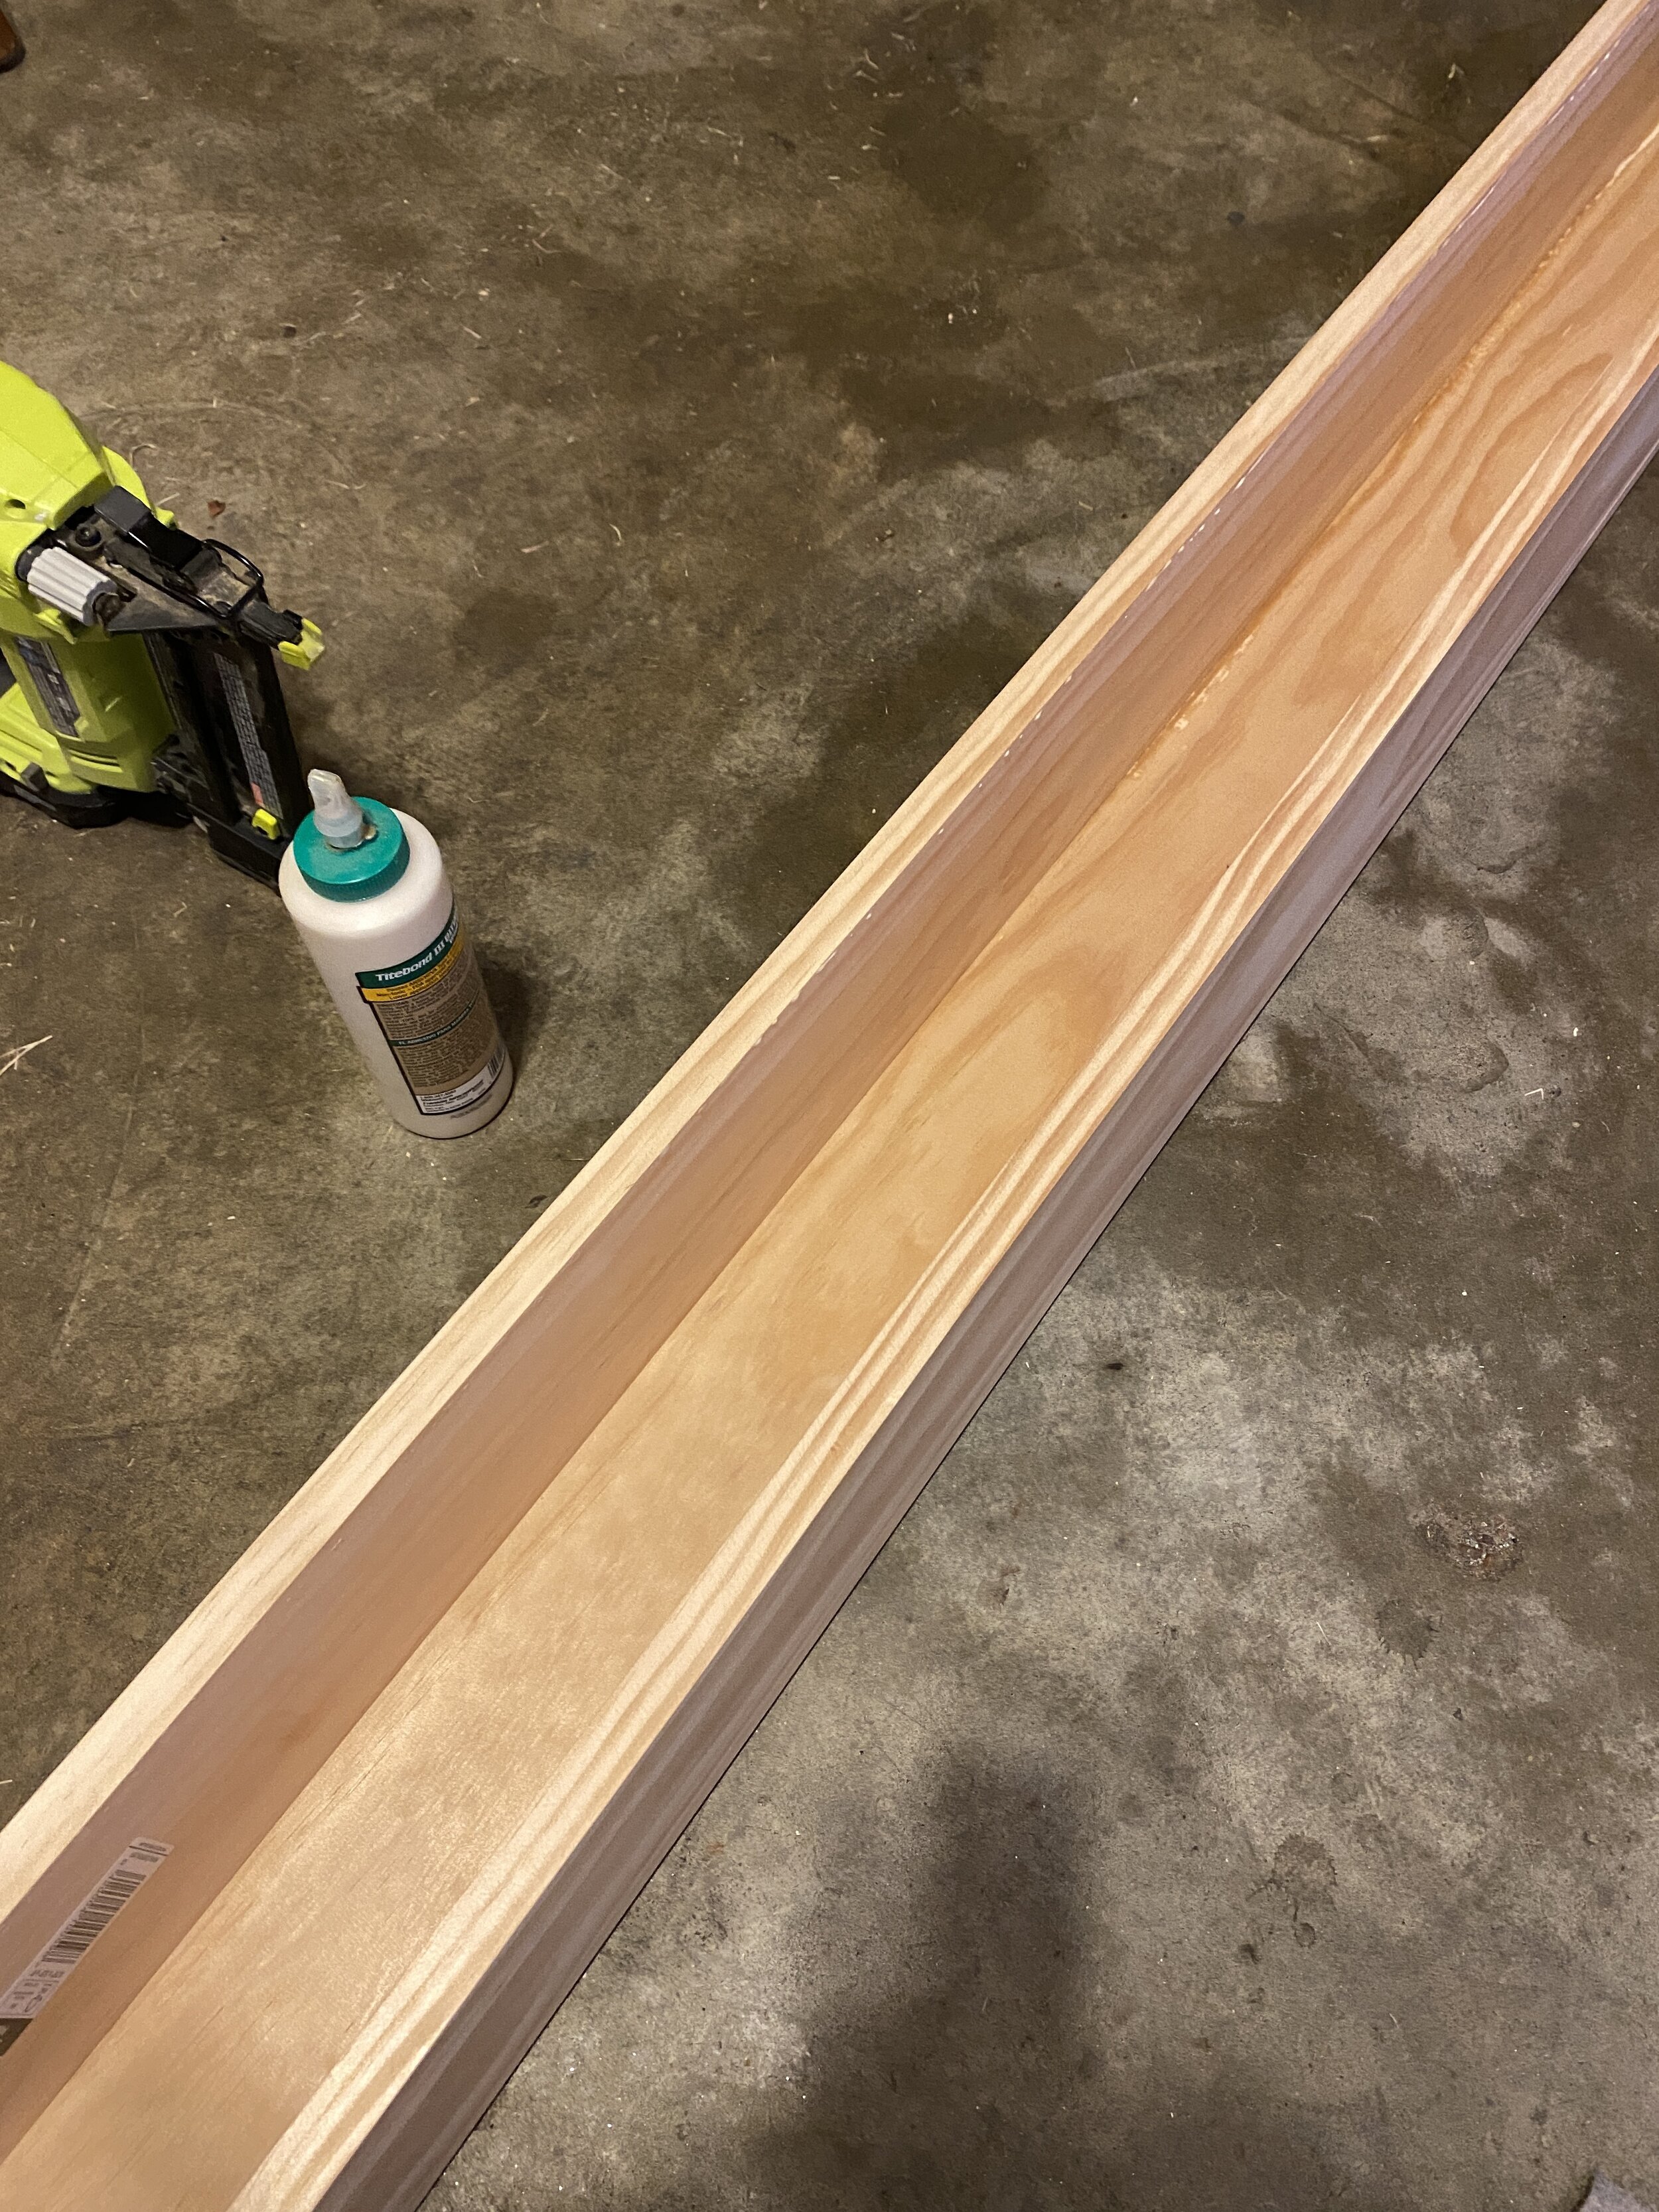
To start off, we bought 1x6 boards from Home Depot and cut them down to 3 ft. We used wood glue and a brad nailer to create a 3 sided box.


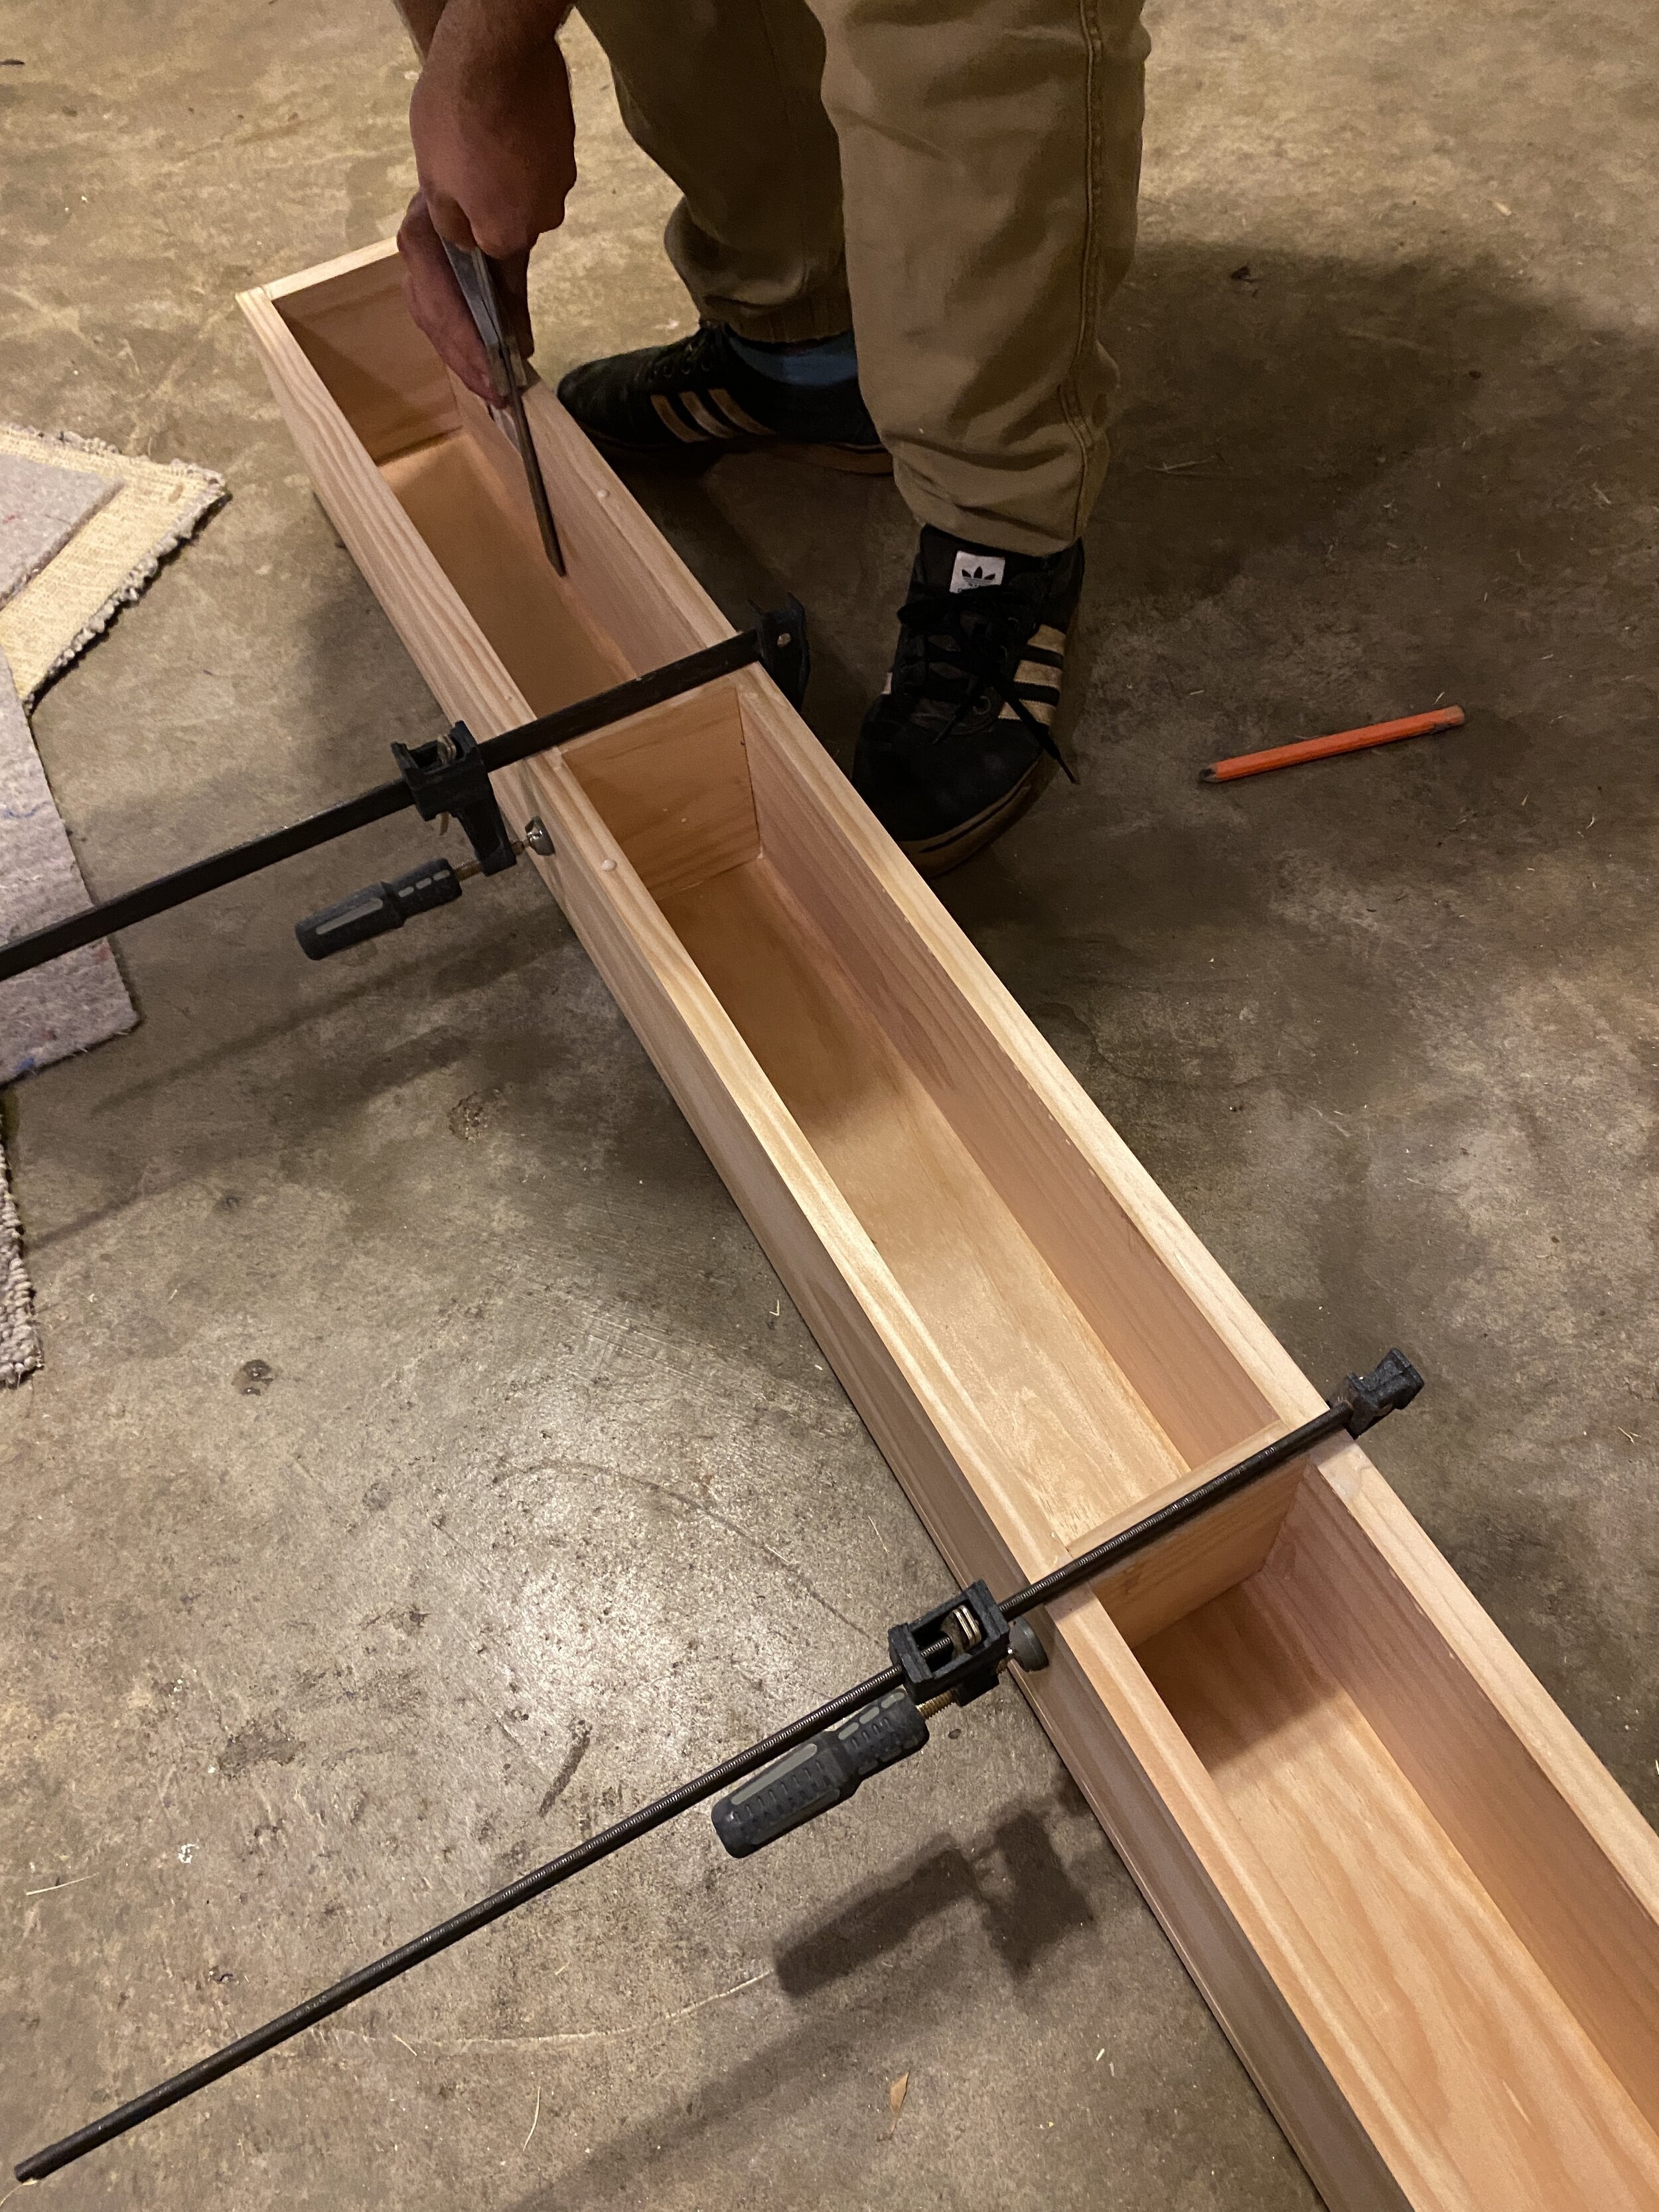
We then meaured the ends and cut a couple pieces from the leftovers to create the end caps. We made sure to measure so the caps would sit inside the box so the exposed ends of the wood would be on the sides and not on the front of the mantle. We glued and brad nailed each of the ends in place.
To give it extra support, we measured and cut two more pieces that would fit inside the mantle nice and snug. Then we used glue and just one or two brad nails in each so we didn’t have a ton of nails on the surface. We clamped them down and let them dry overnight.
Once everything was dried, we gave the whole box a good sanding and then stained it using this wood stain.
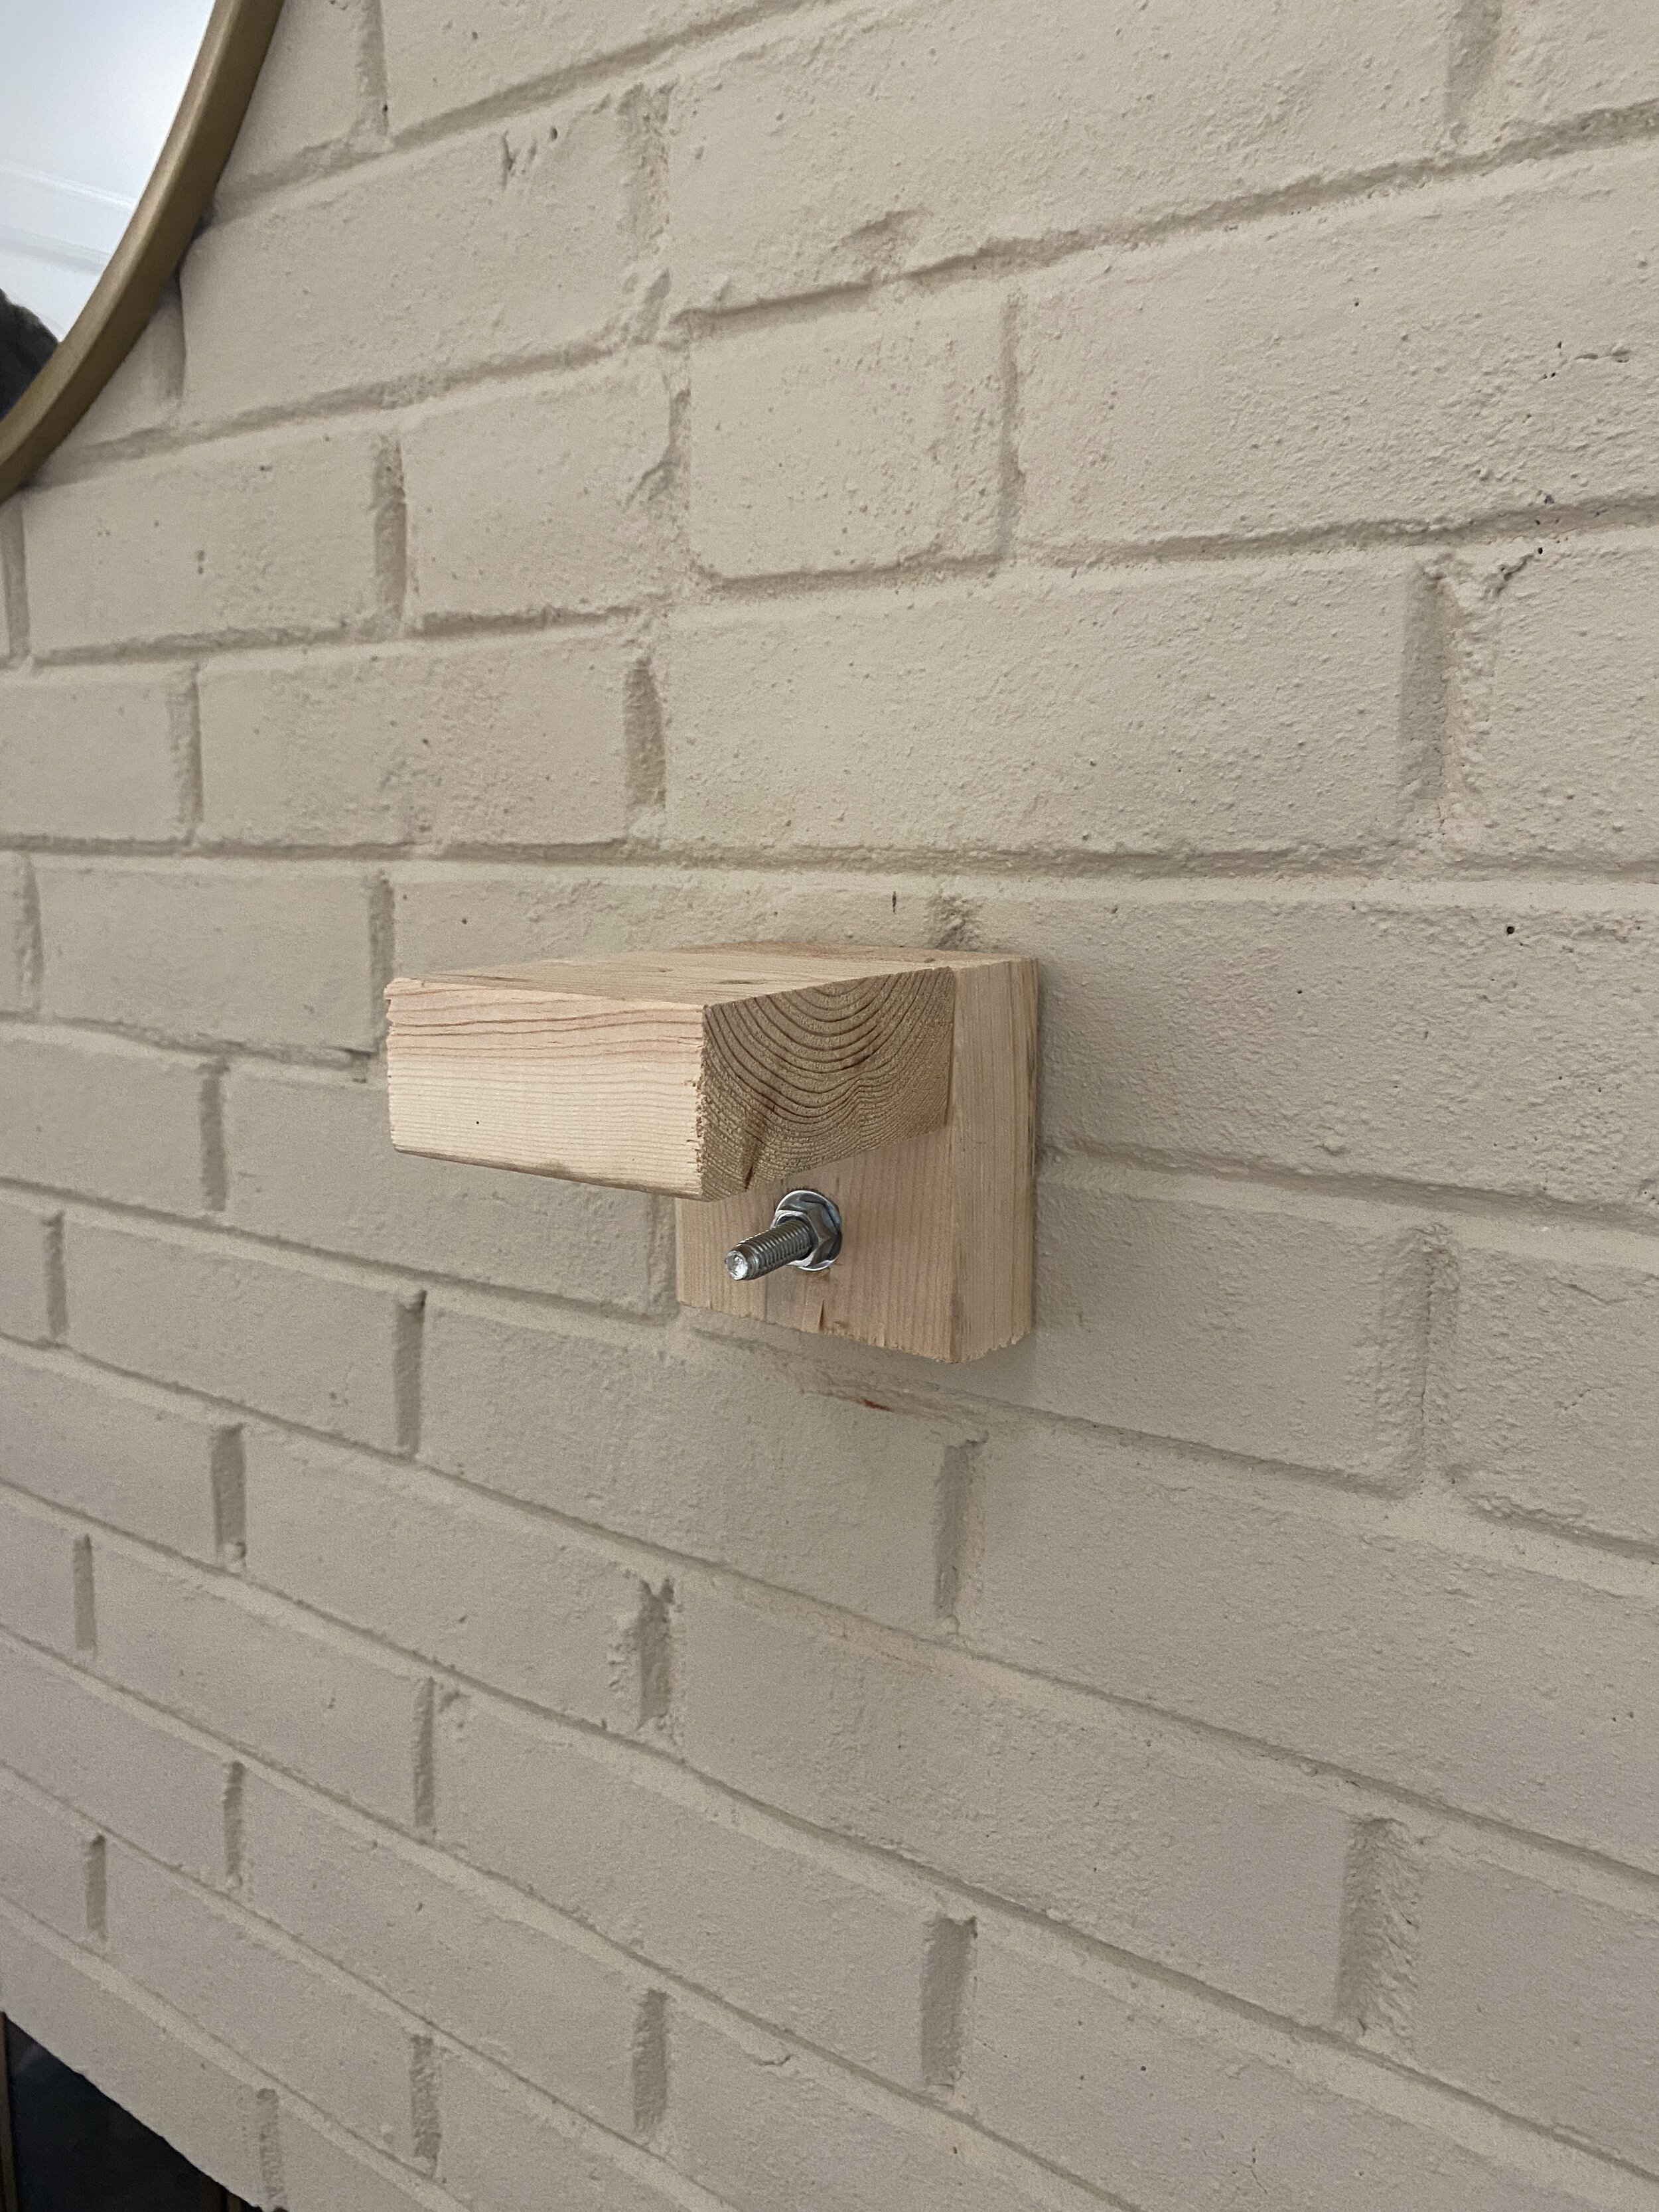
To hang the mantle, we created two L brackets with some left over 2x4s that we had laying around. We used a lot of wood glue and some long study screws to secure the pieces together.
Then we used 3/8 anchor in each bracket to secure it to the brick. Once the brackets were leveled and secured, we slid the mantle over the brackets and popped a couple of extra brad nails through the top of the mantle and into the brackets.
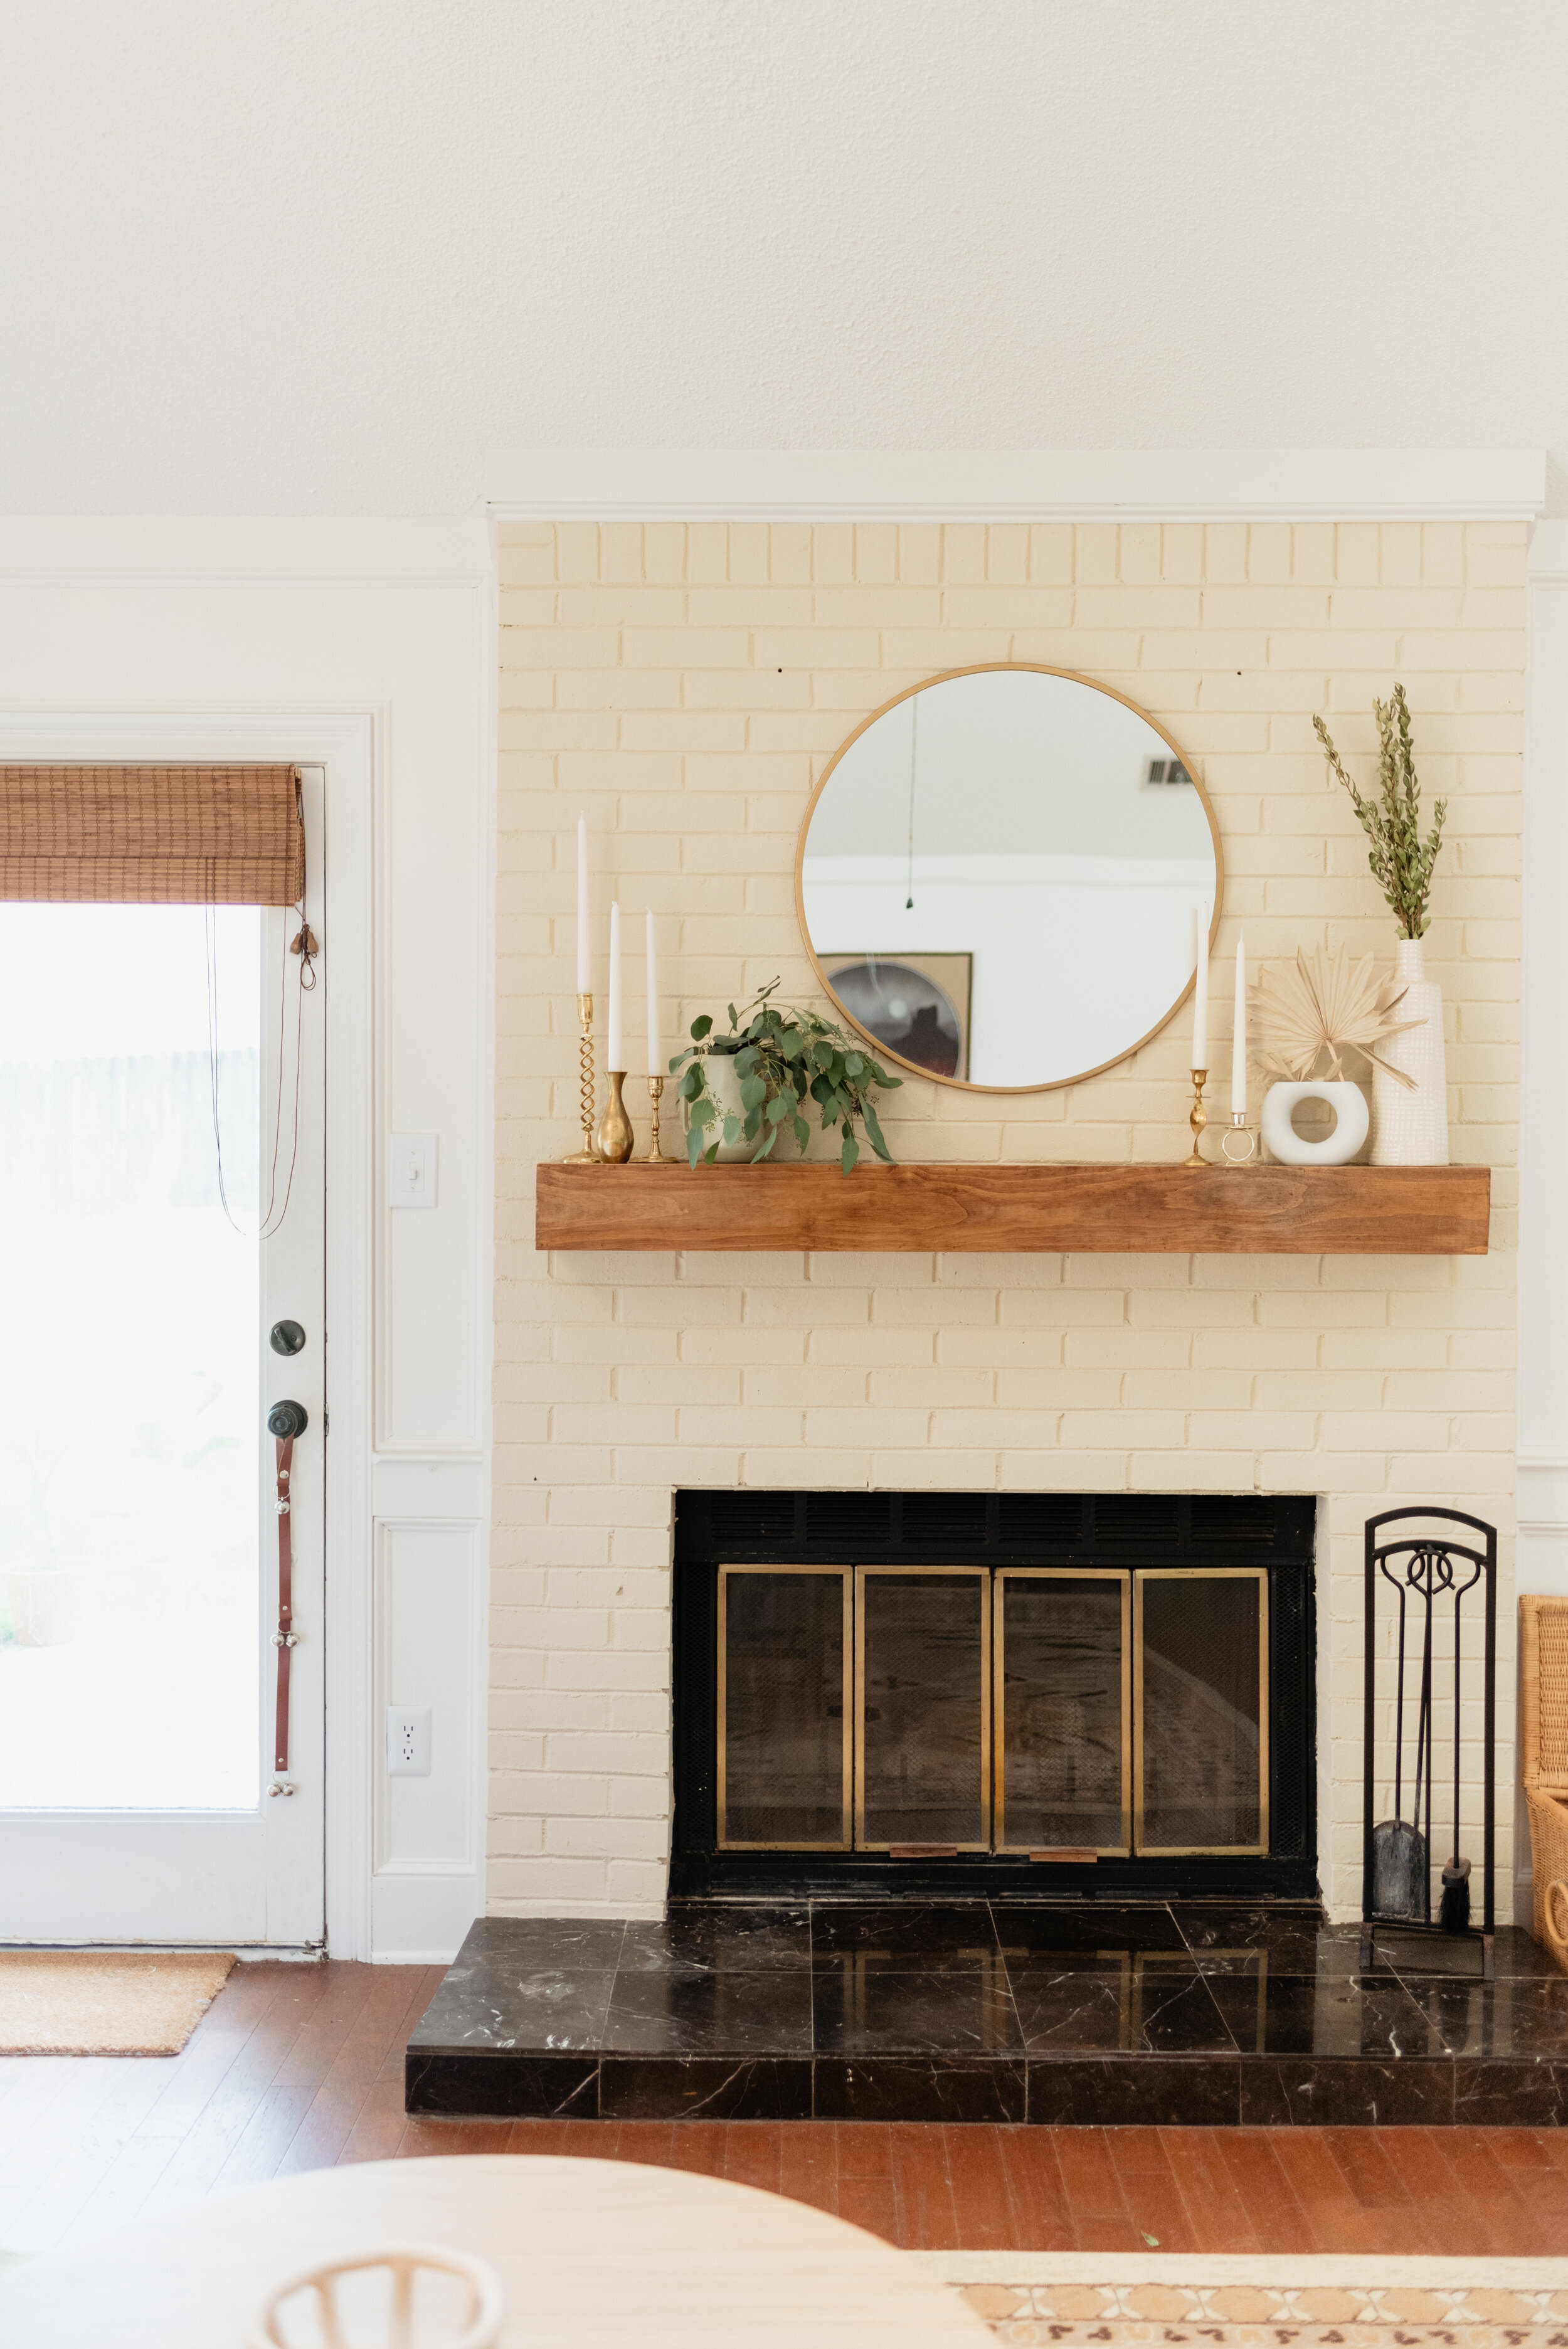
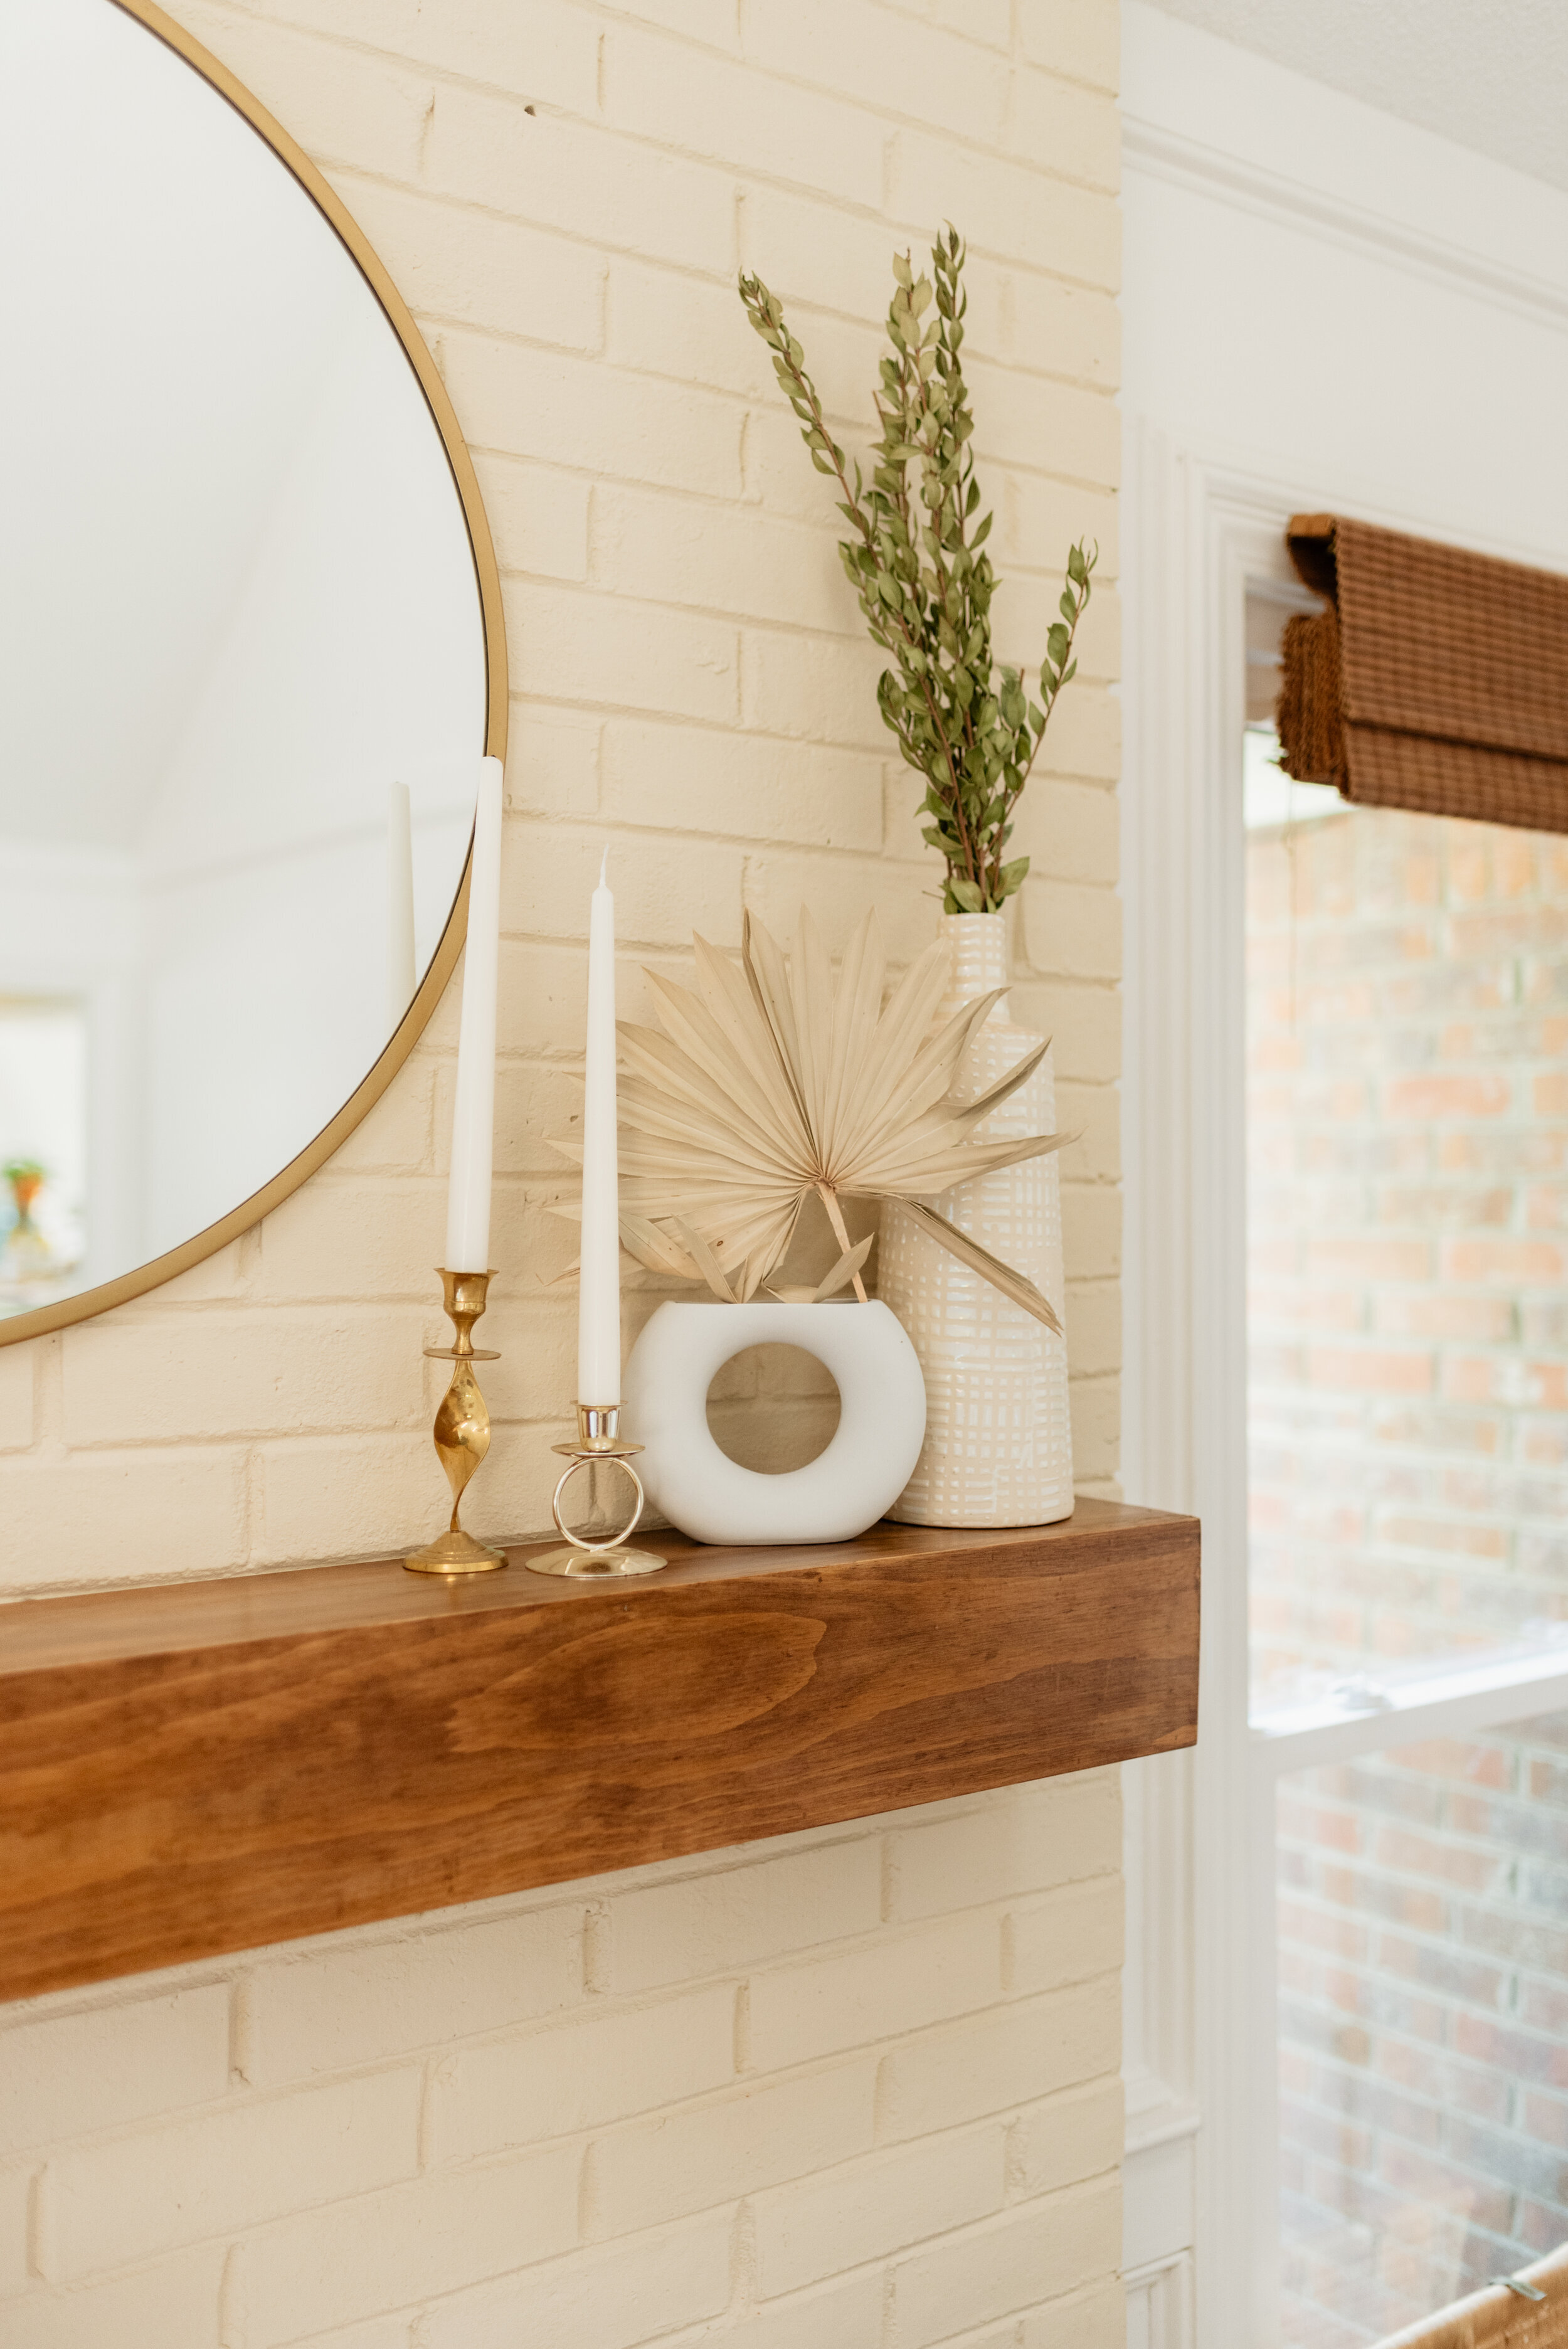
And there it is! We finally have a big beautiful mantle. I’m already way too excited to hang stockings on it for Christmas!