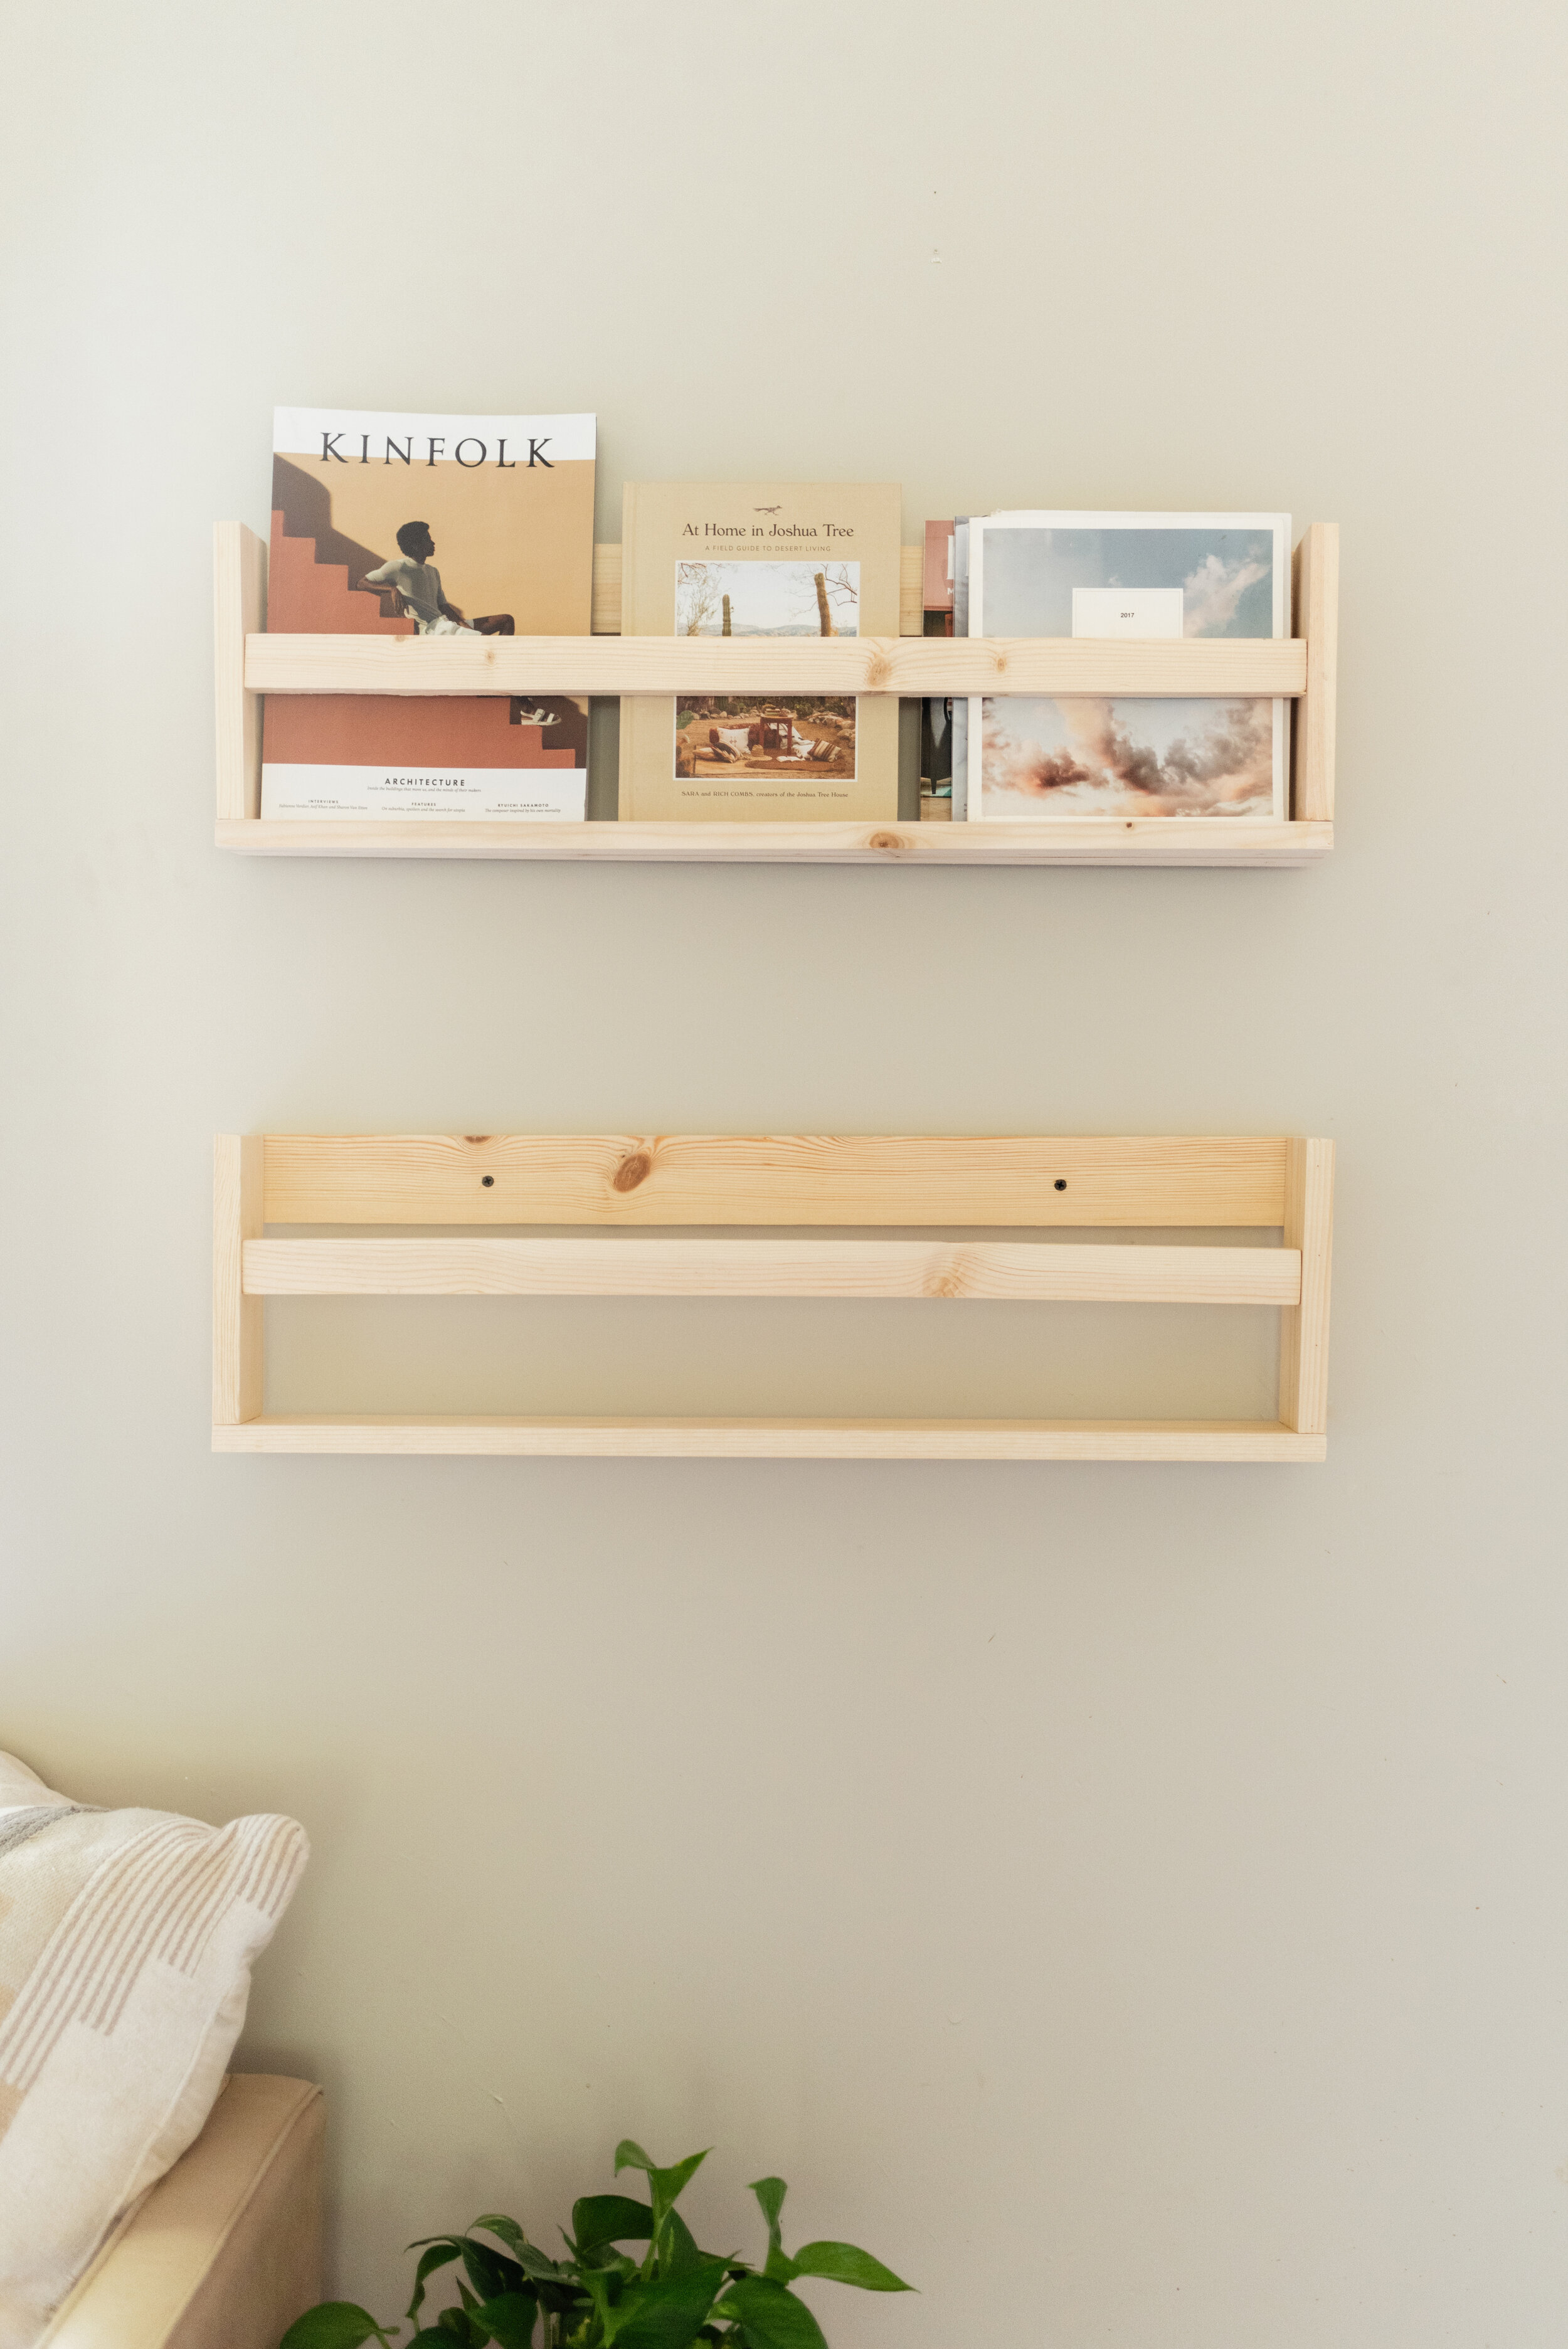
DIY Magazine Racks

So easy and I’m truly obsessed!
I’ve been wanting to build something like this for so long and I have no idea why it’s taken me so long to finally do this. Each rack took about 10-15 minutes to complete and it’s such a good way to use up extra wood! This is really such a great project for beginners as well, so if you happen to have access to some tools and wood, you should give this a go!
I wish I would have taken some process images but I didn’t think that far ahead. Hopefully this can be just as easy to explain in text along with some photos of the bare shelf. But here we goooo:

What you need:
Wood - I used both 1x3 and 1x2 boards, both whitewood.
Brad nailer or screws
Wood glue
Cutting guide:
(2) 1x3 boards cut at 30”
(2) 1x3 boards cut at 8”
(1) 1x2 board cut at 30”
STEP-BY-STEP:
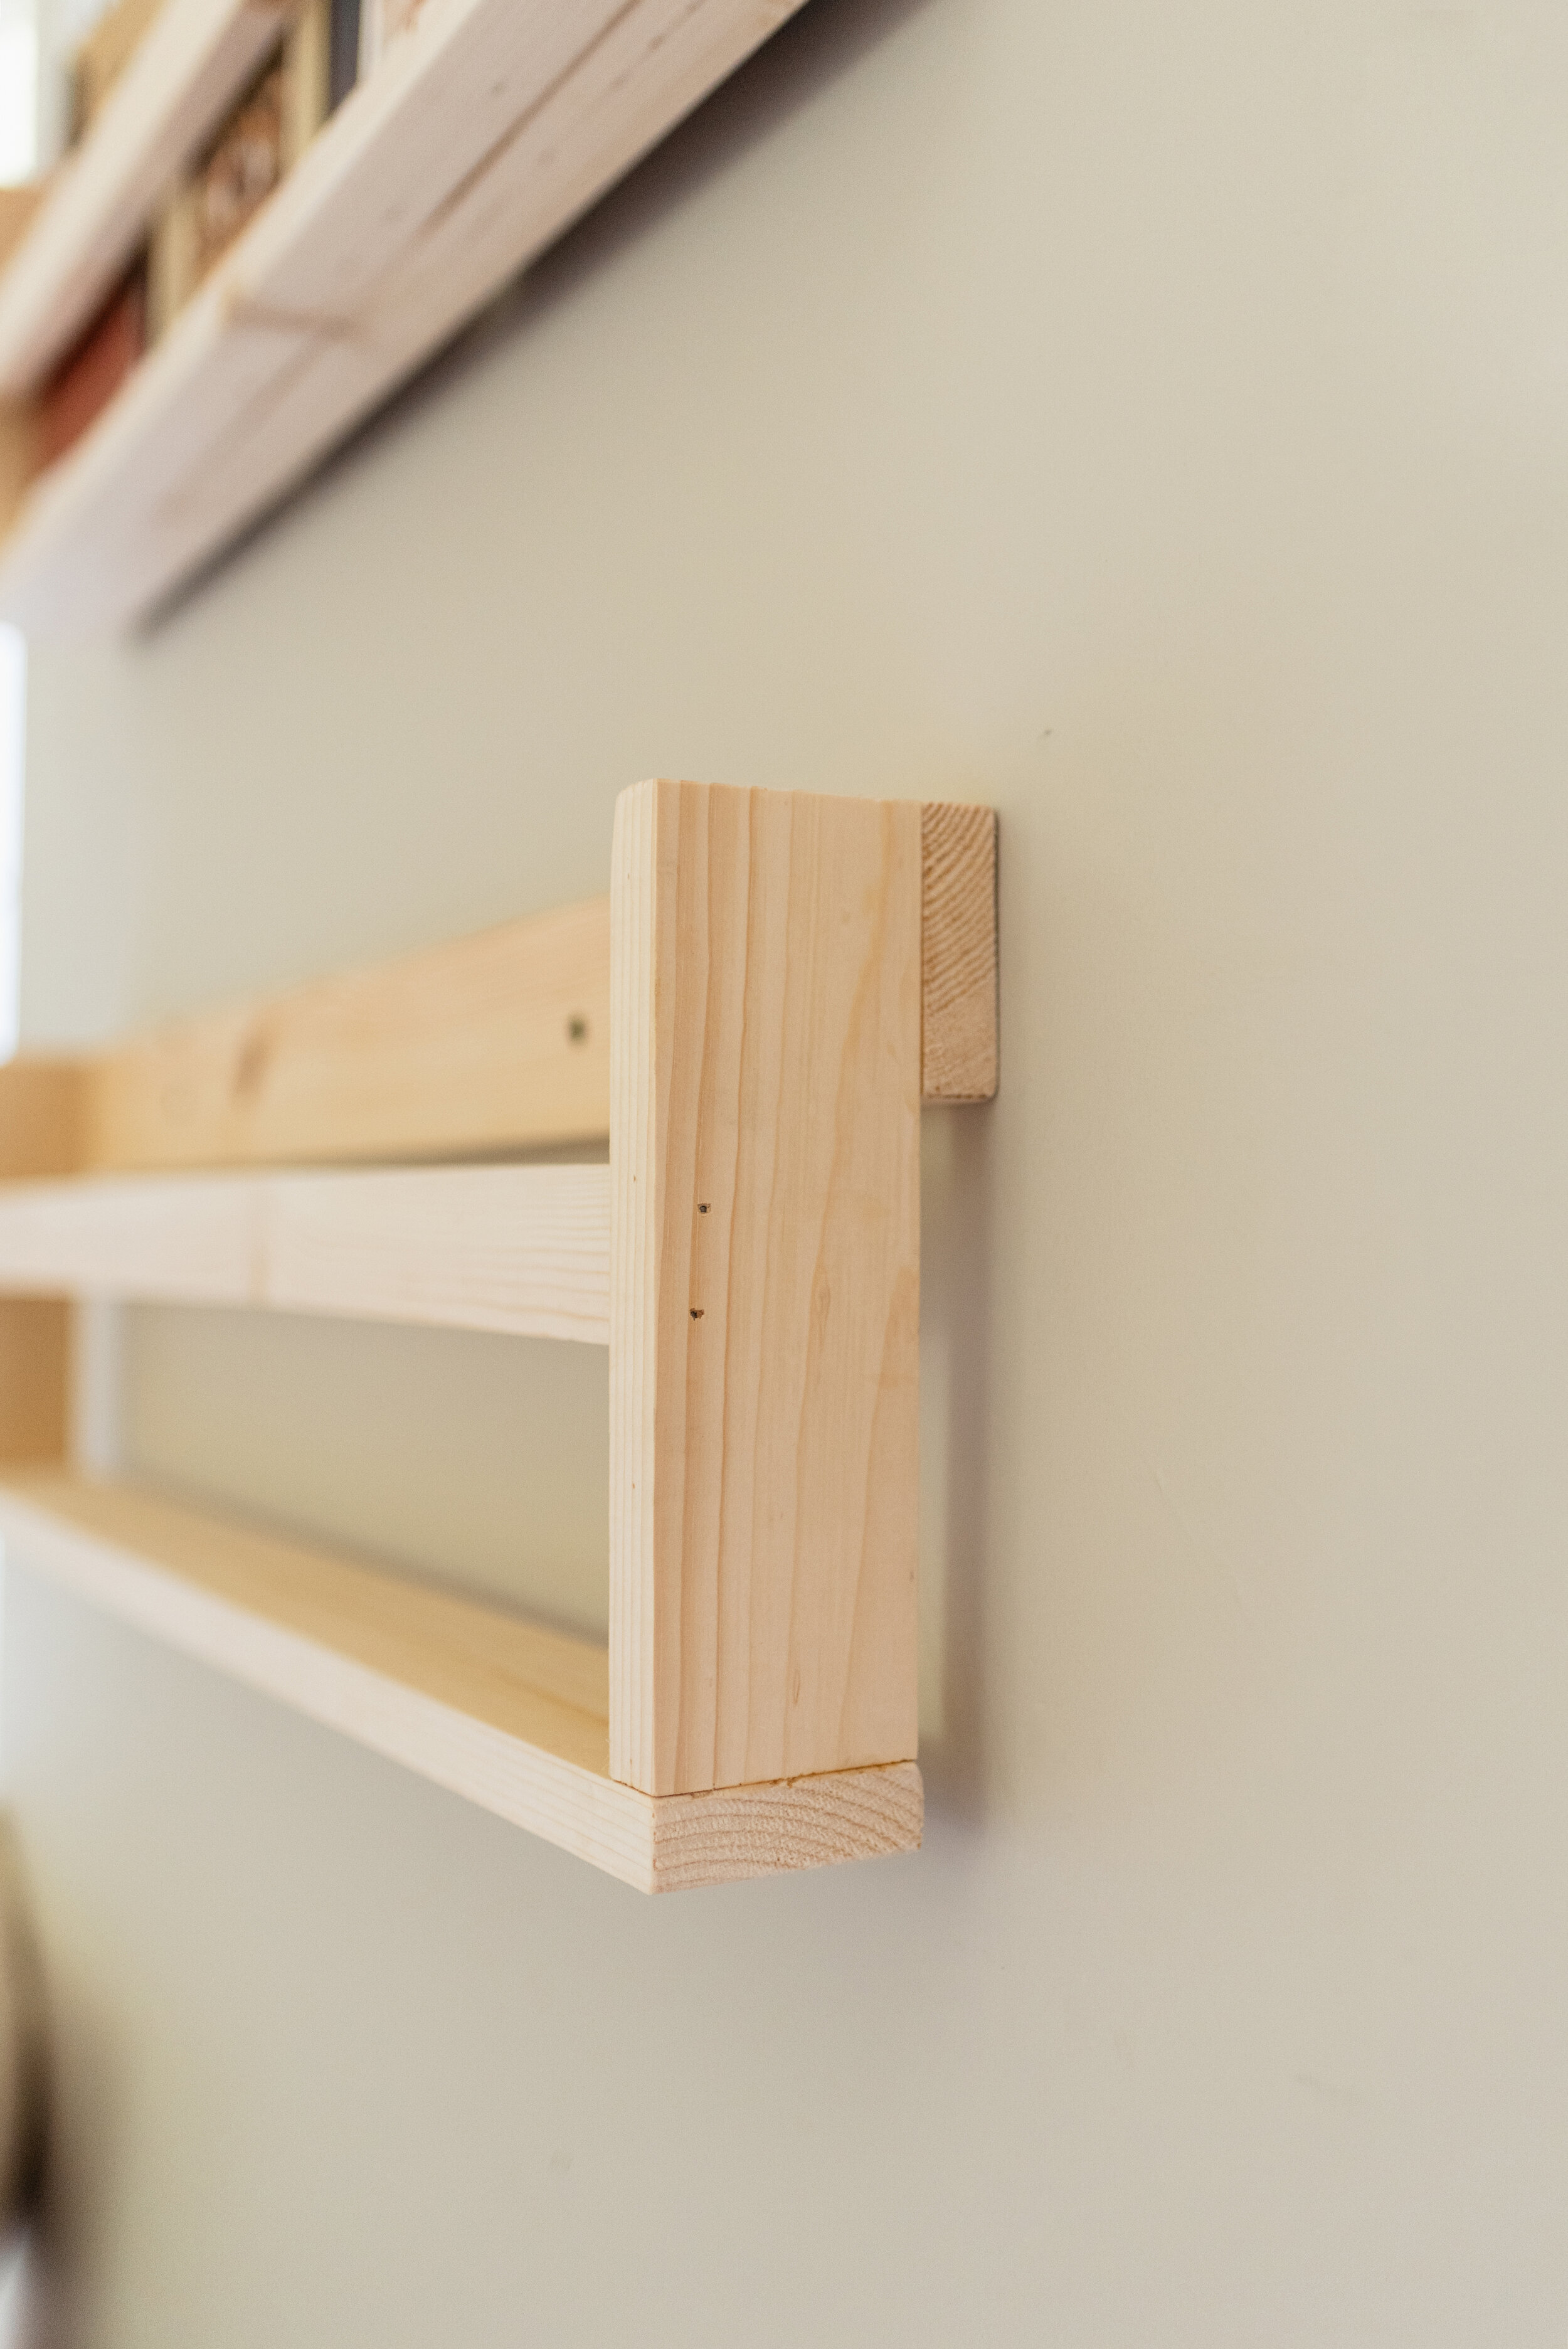
Start by squaring up one of the 8” boards with one of the 30” 1x3 boards. This will build the side of the rack. Apply wood glue and brad nail it (or screw) it securely. Repeat on the other side with the other 8” board. Now you should have a squared up U shape.
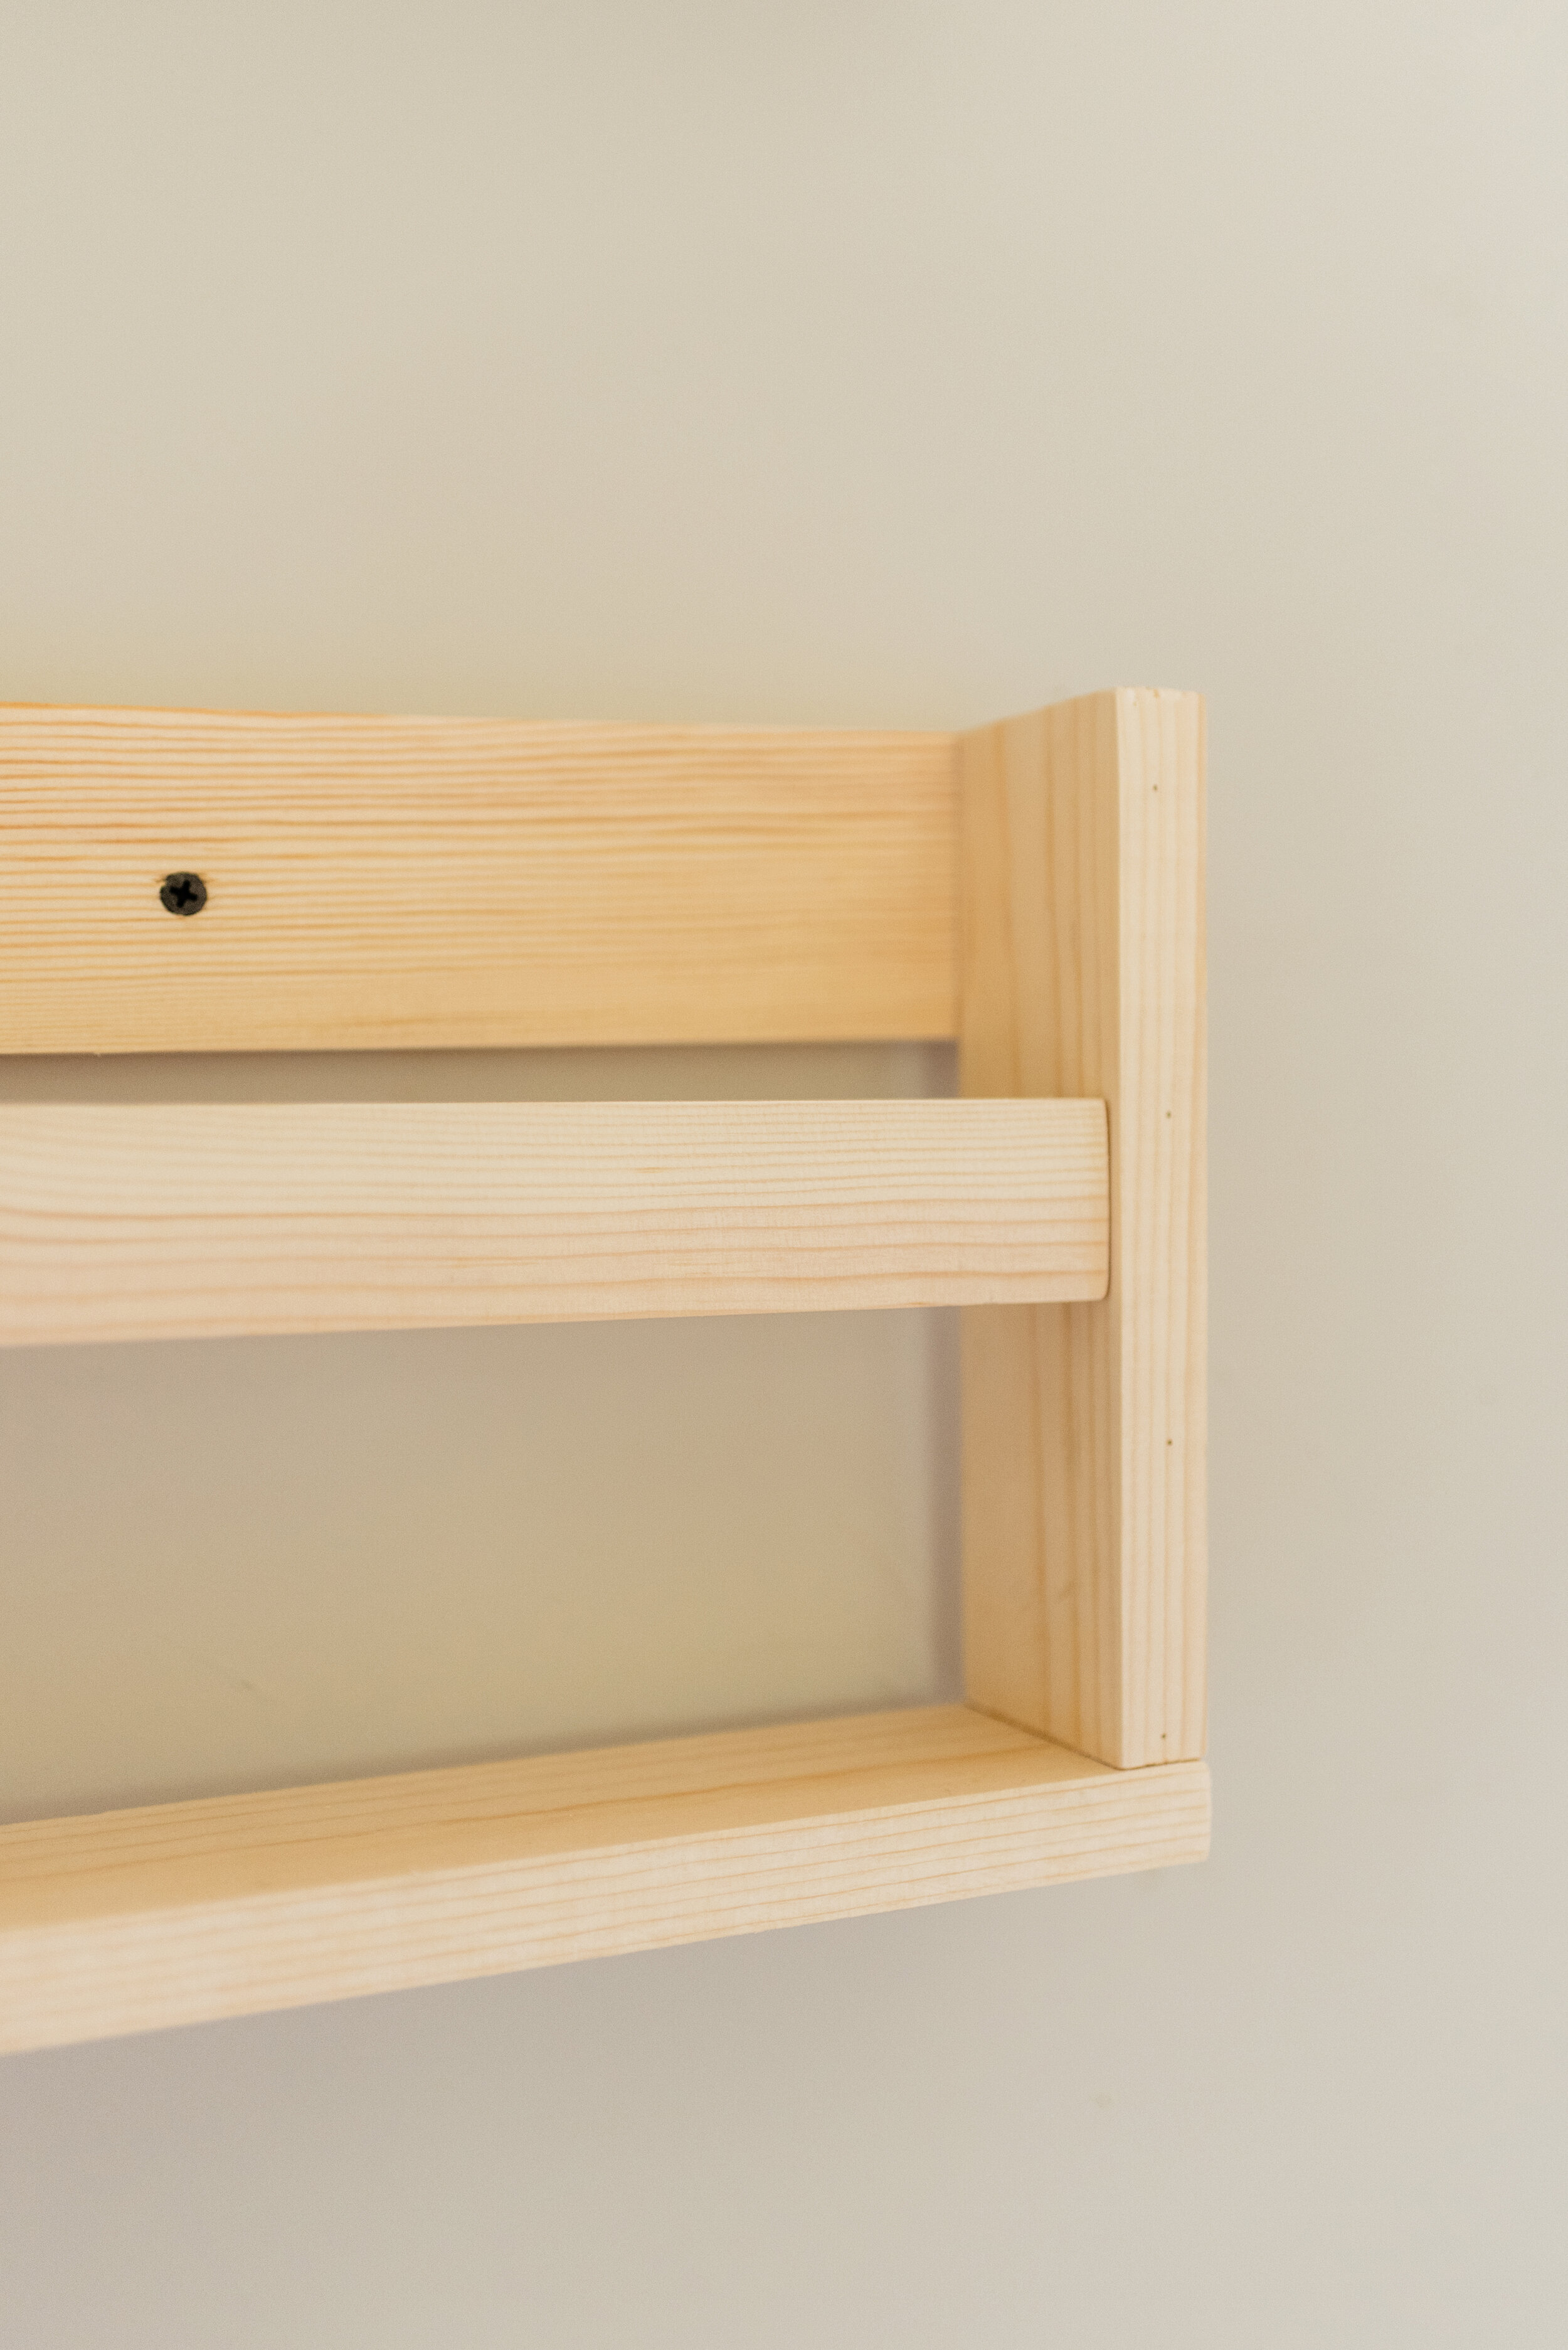
Next, take your second 30” 1x3 board and line it up with the tops of the sides, flush with the back. Glue and nail this to both side pieces.
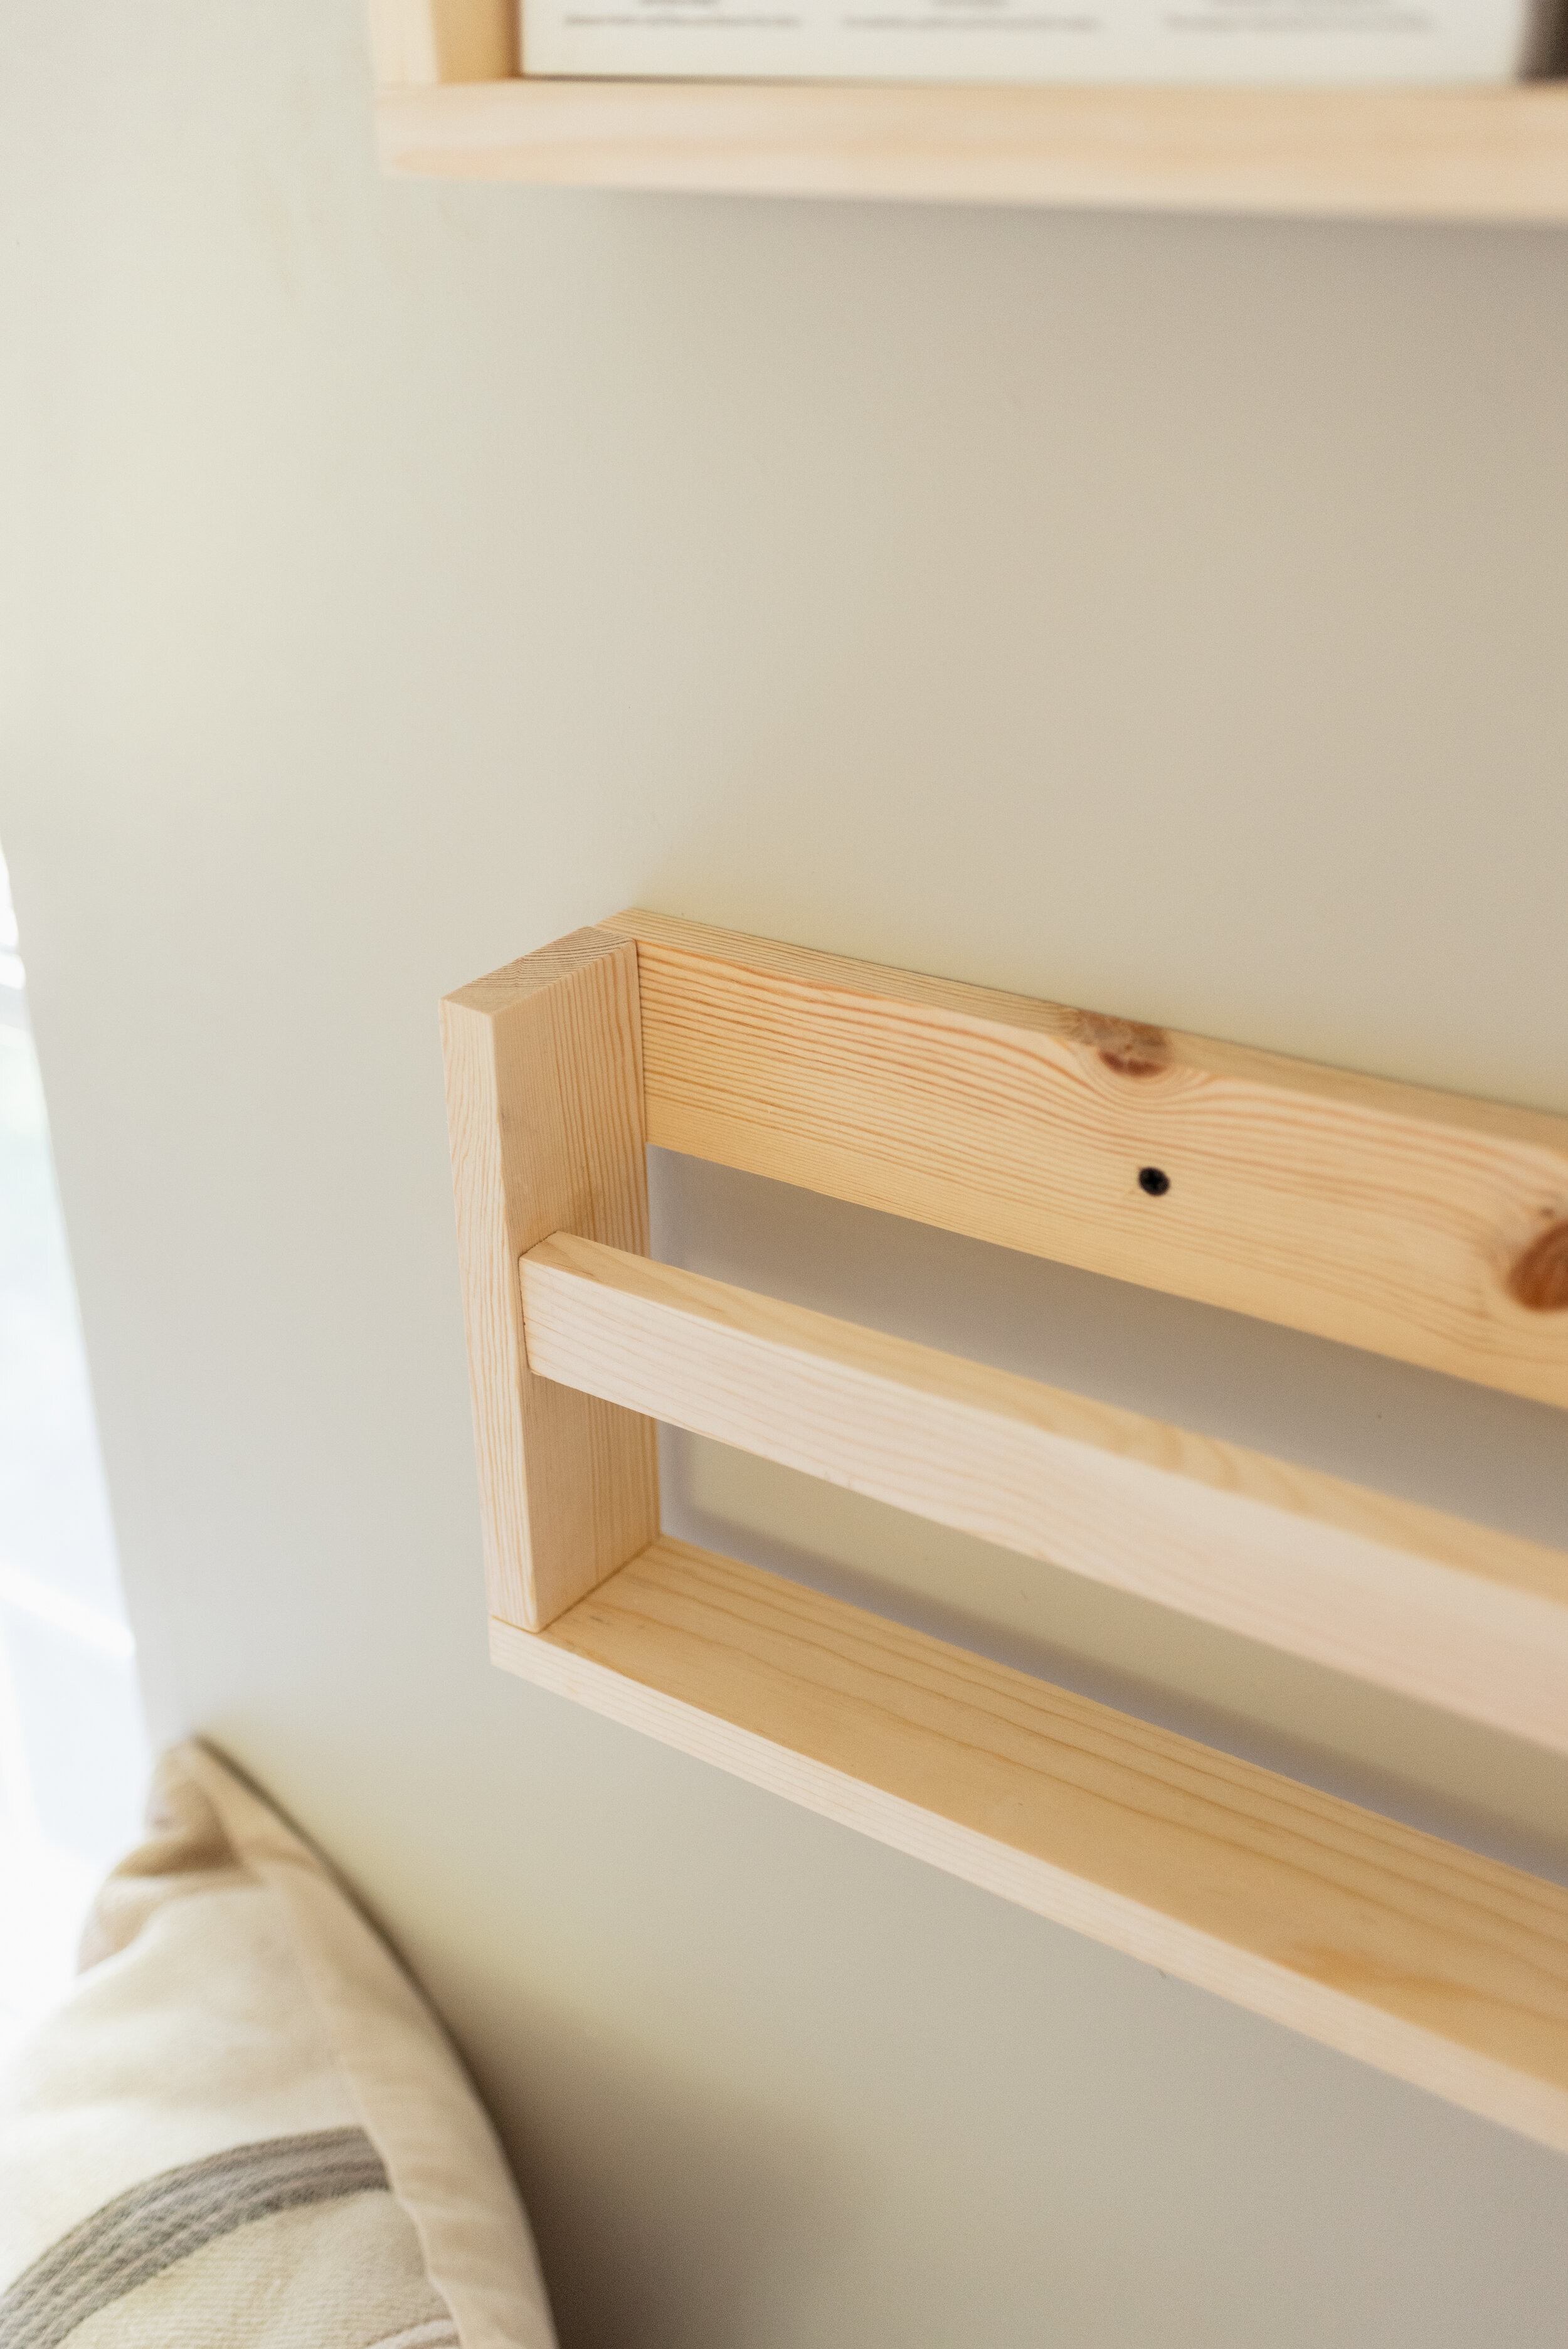
To add the front bar, measure up the sides 5” from the bottom (plus the depth of the bottom board), mark this measurement. If your 1x2 board doesn’t fit, carefully sand it down on one end until it slides in, nice and snug. Slide the 1x2 board into place, matching the top of the board with the 5” measure marks. Once it’s level and in place, brad nail it from the side.
For the screw holes in the back, I measured 7” from each side and pre-drilled the holes before screwing it into the wall.