How To: Arched Wall

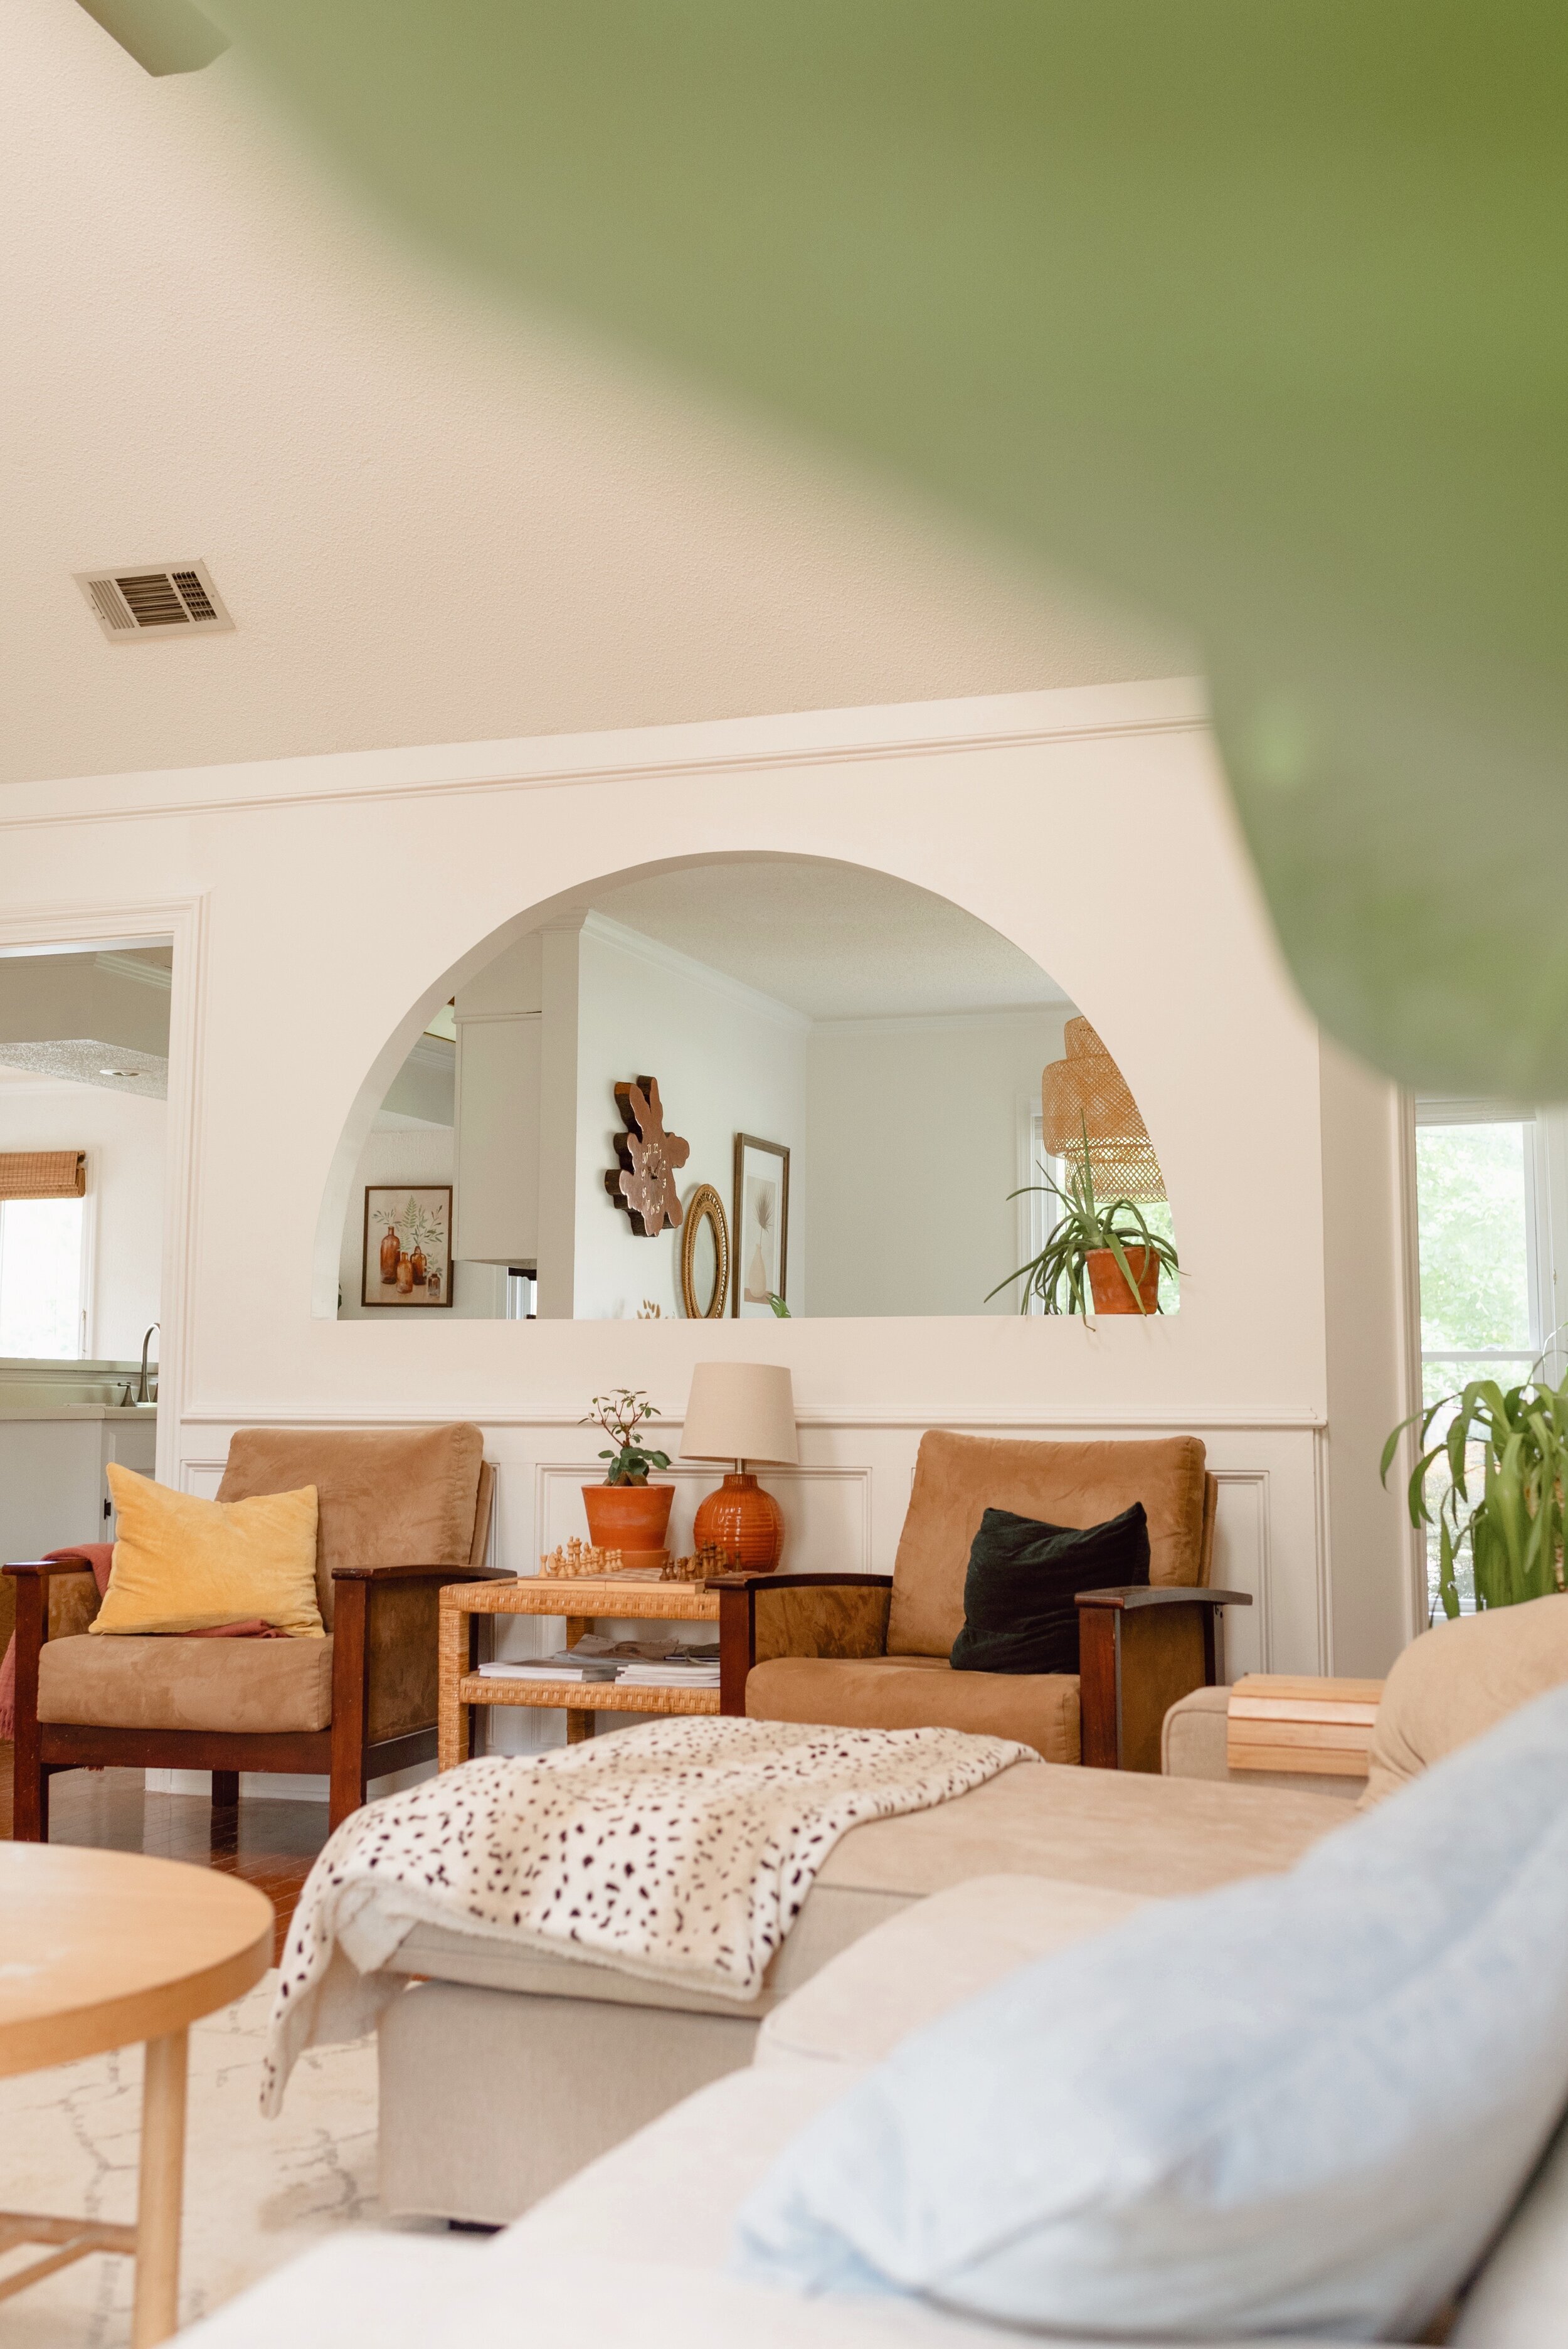
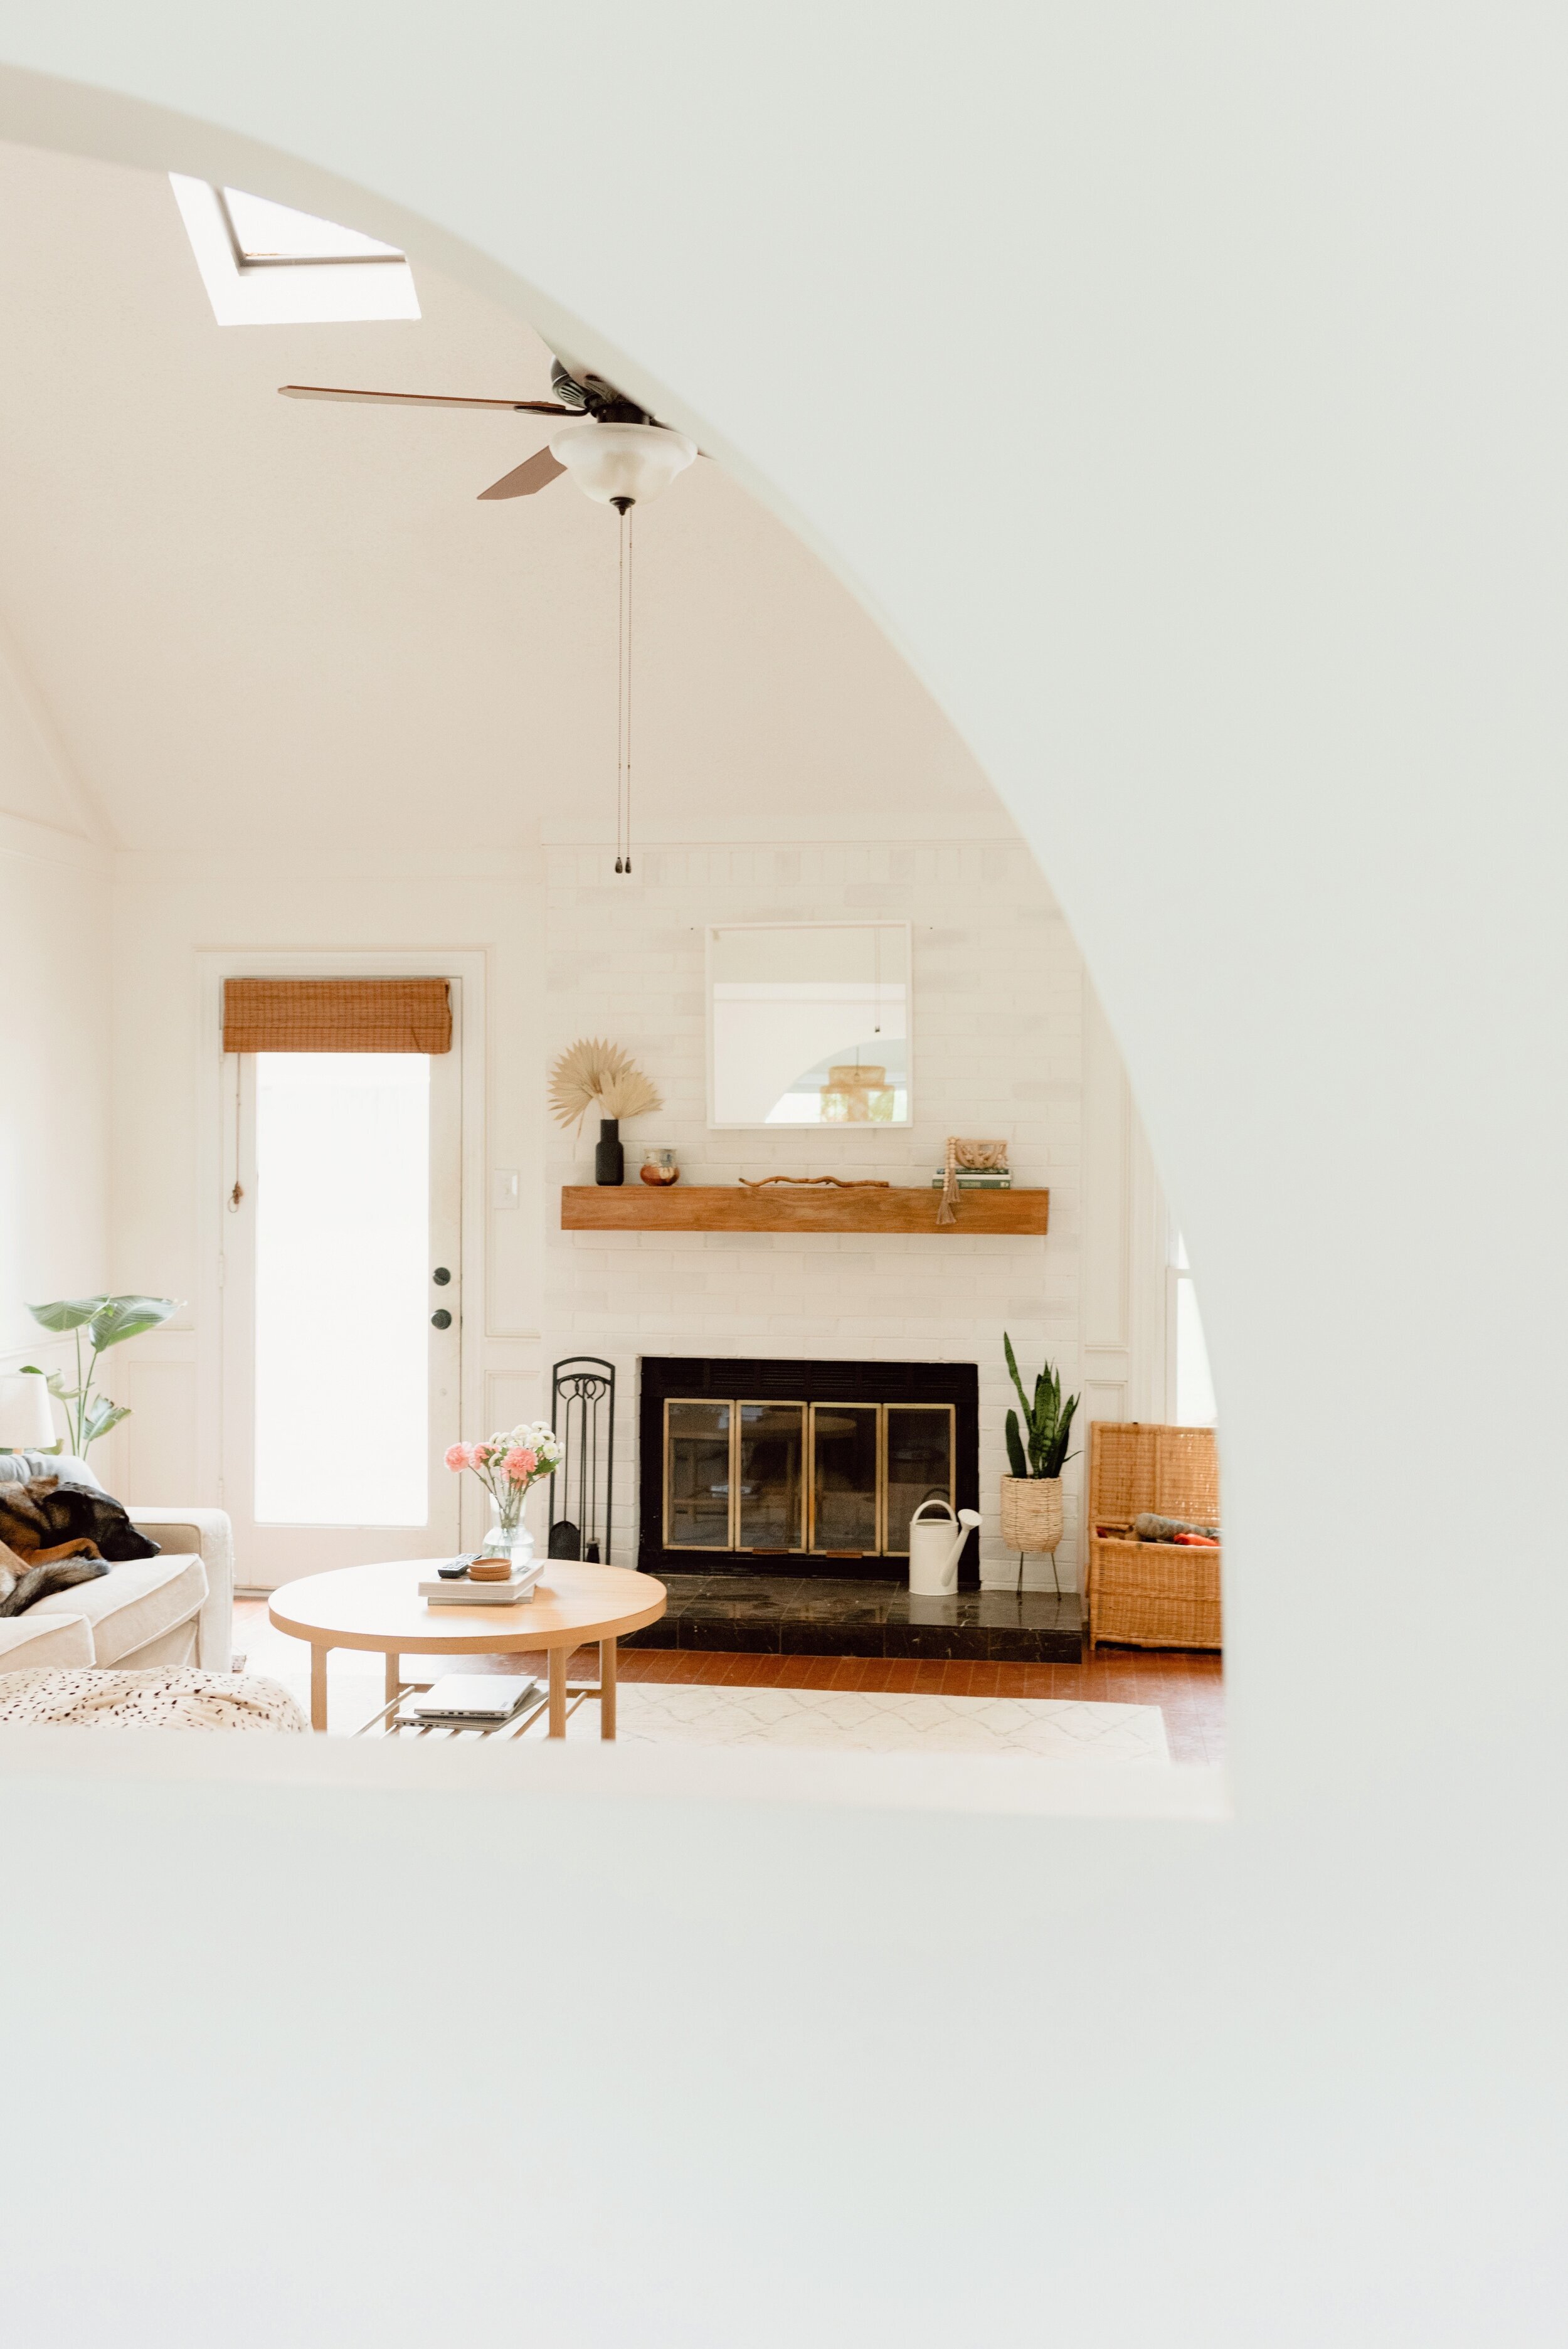
After living in the house for almost a year, we finally tackled the one project that we had been dreeeaming of! This wall between our living room and dining room is a the complete center of our house. You can walk a full circle around it and it’s always felt like it was in the way. But it’s a load-bearing wall so I knew that in order to open this space up, we’d have to get creative.
You can watch a lot of this process on my Instagram highlight.
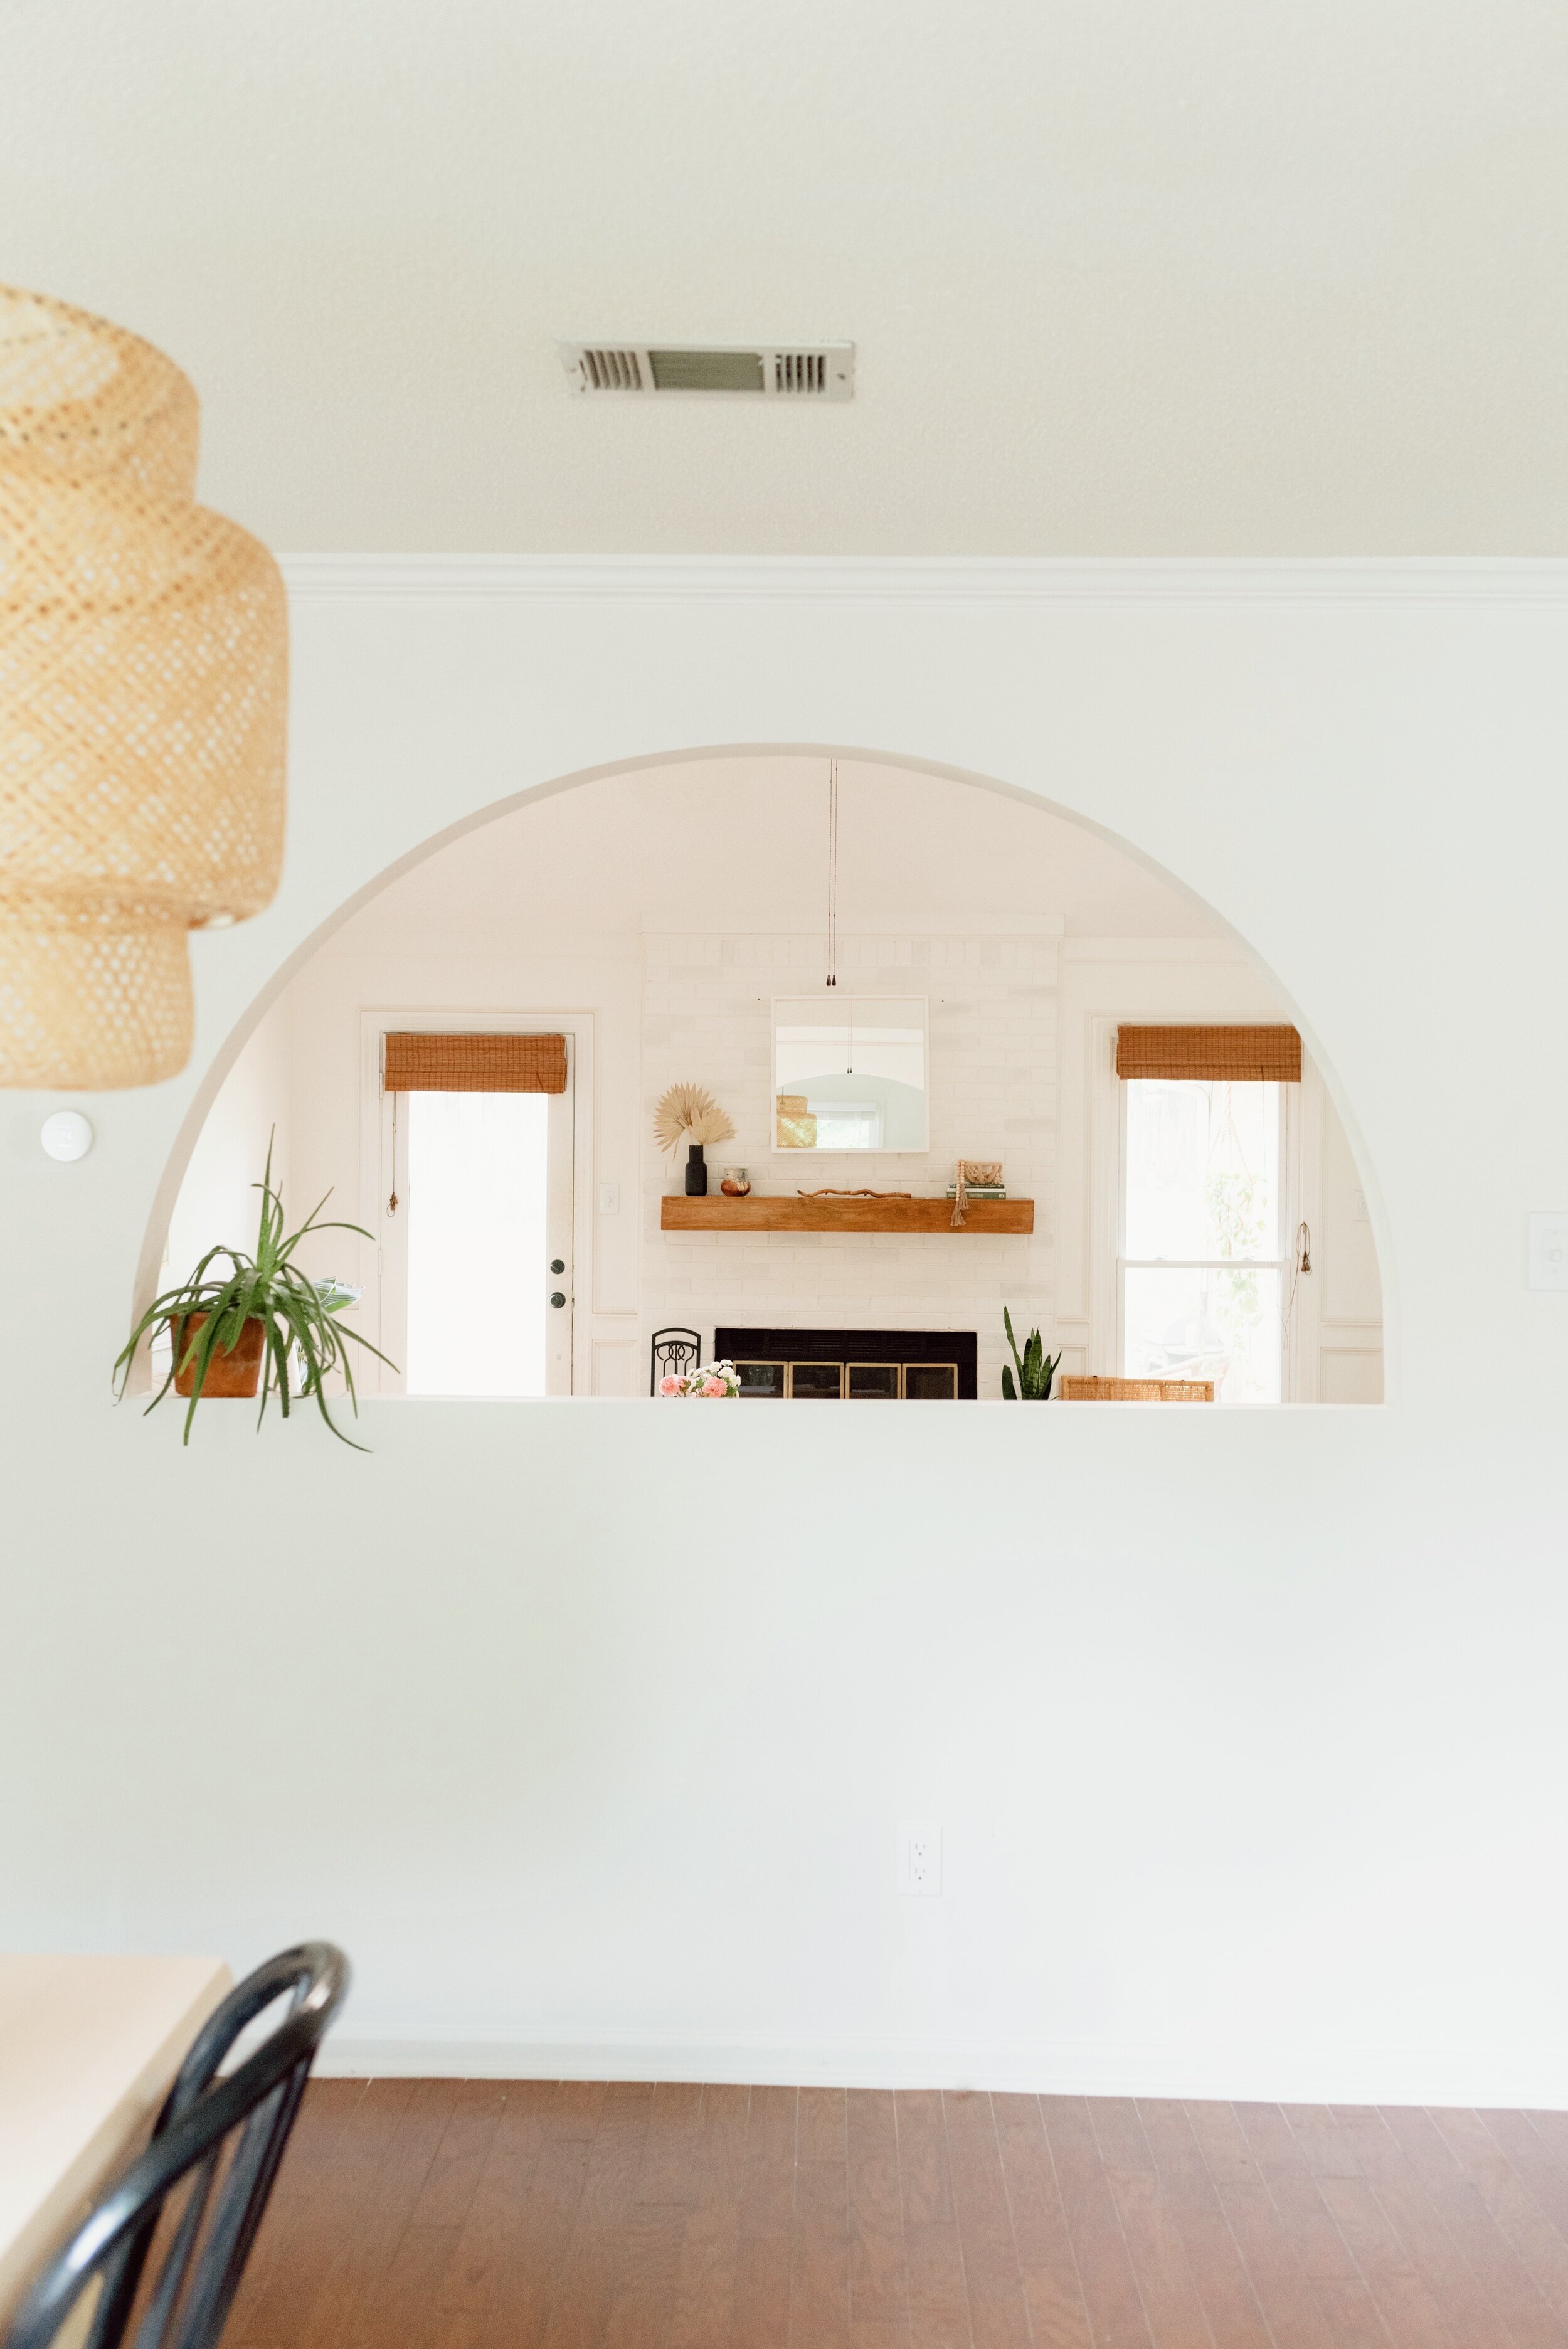
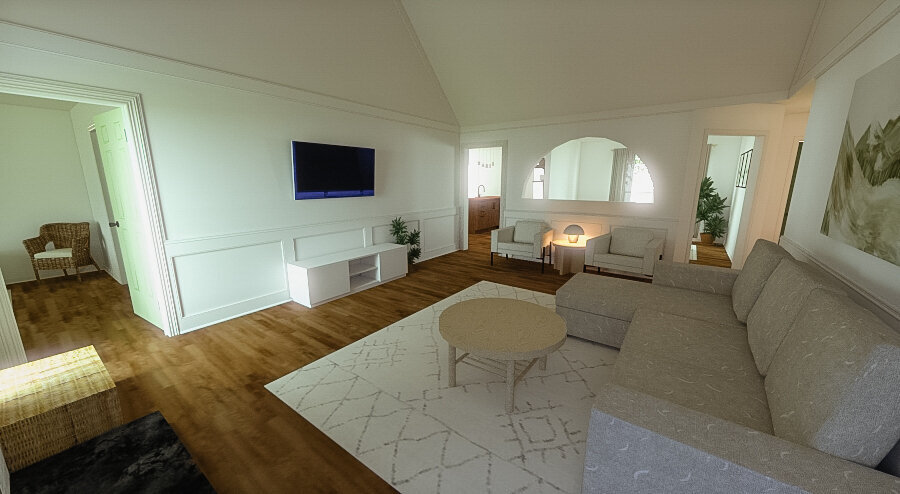
I took to Sketchup and spent weeks playing with different ideas until I landed on the arched window..

Then we got started:

Building the Frame
My dad was the brains behind all of this. He’s quite literally a genius so having him come visit during this project was extremely helpful!
We bought a couple sheets of plywood and cut two identical arches that were the size of our final goal.
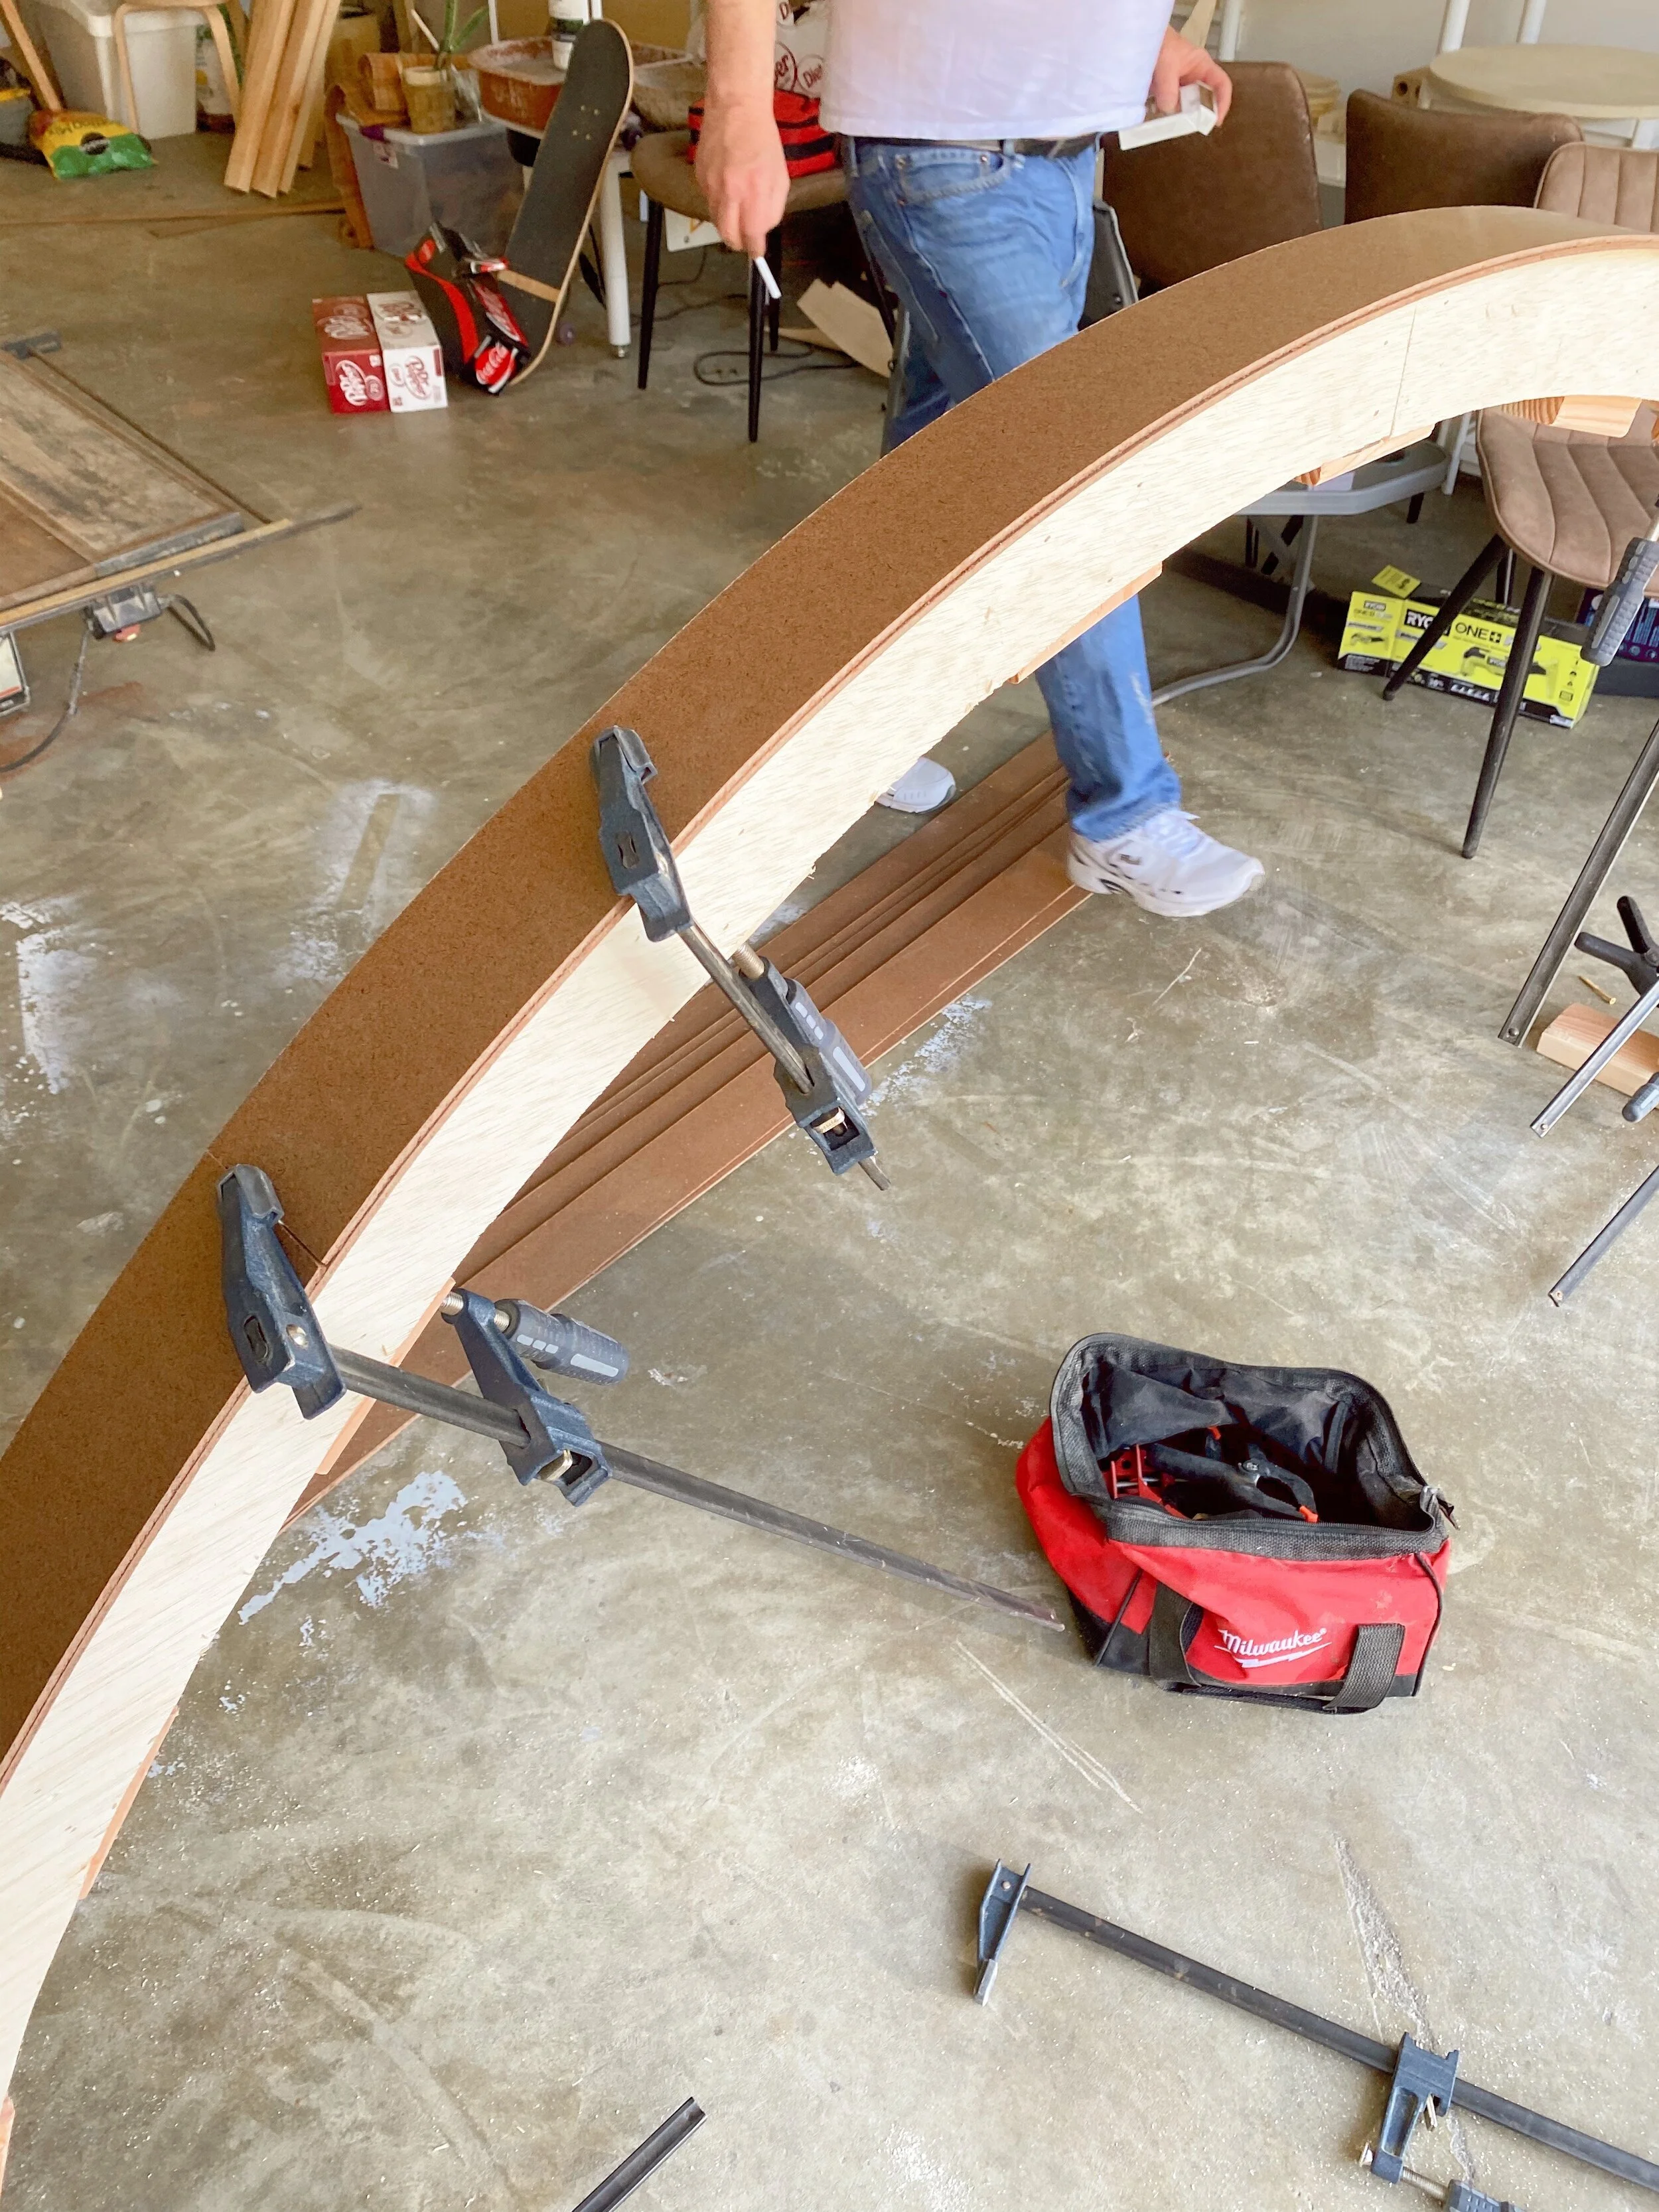
Forming the Arch
Then we took sheets of masonite board and layered them onto the two arches with plenty of wood glue between each layer.
Clamp them to the wood arches and let each layer dry before adding a new layer.
We did 4 layers total, I believe.

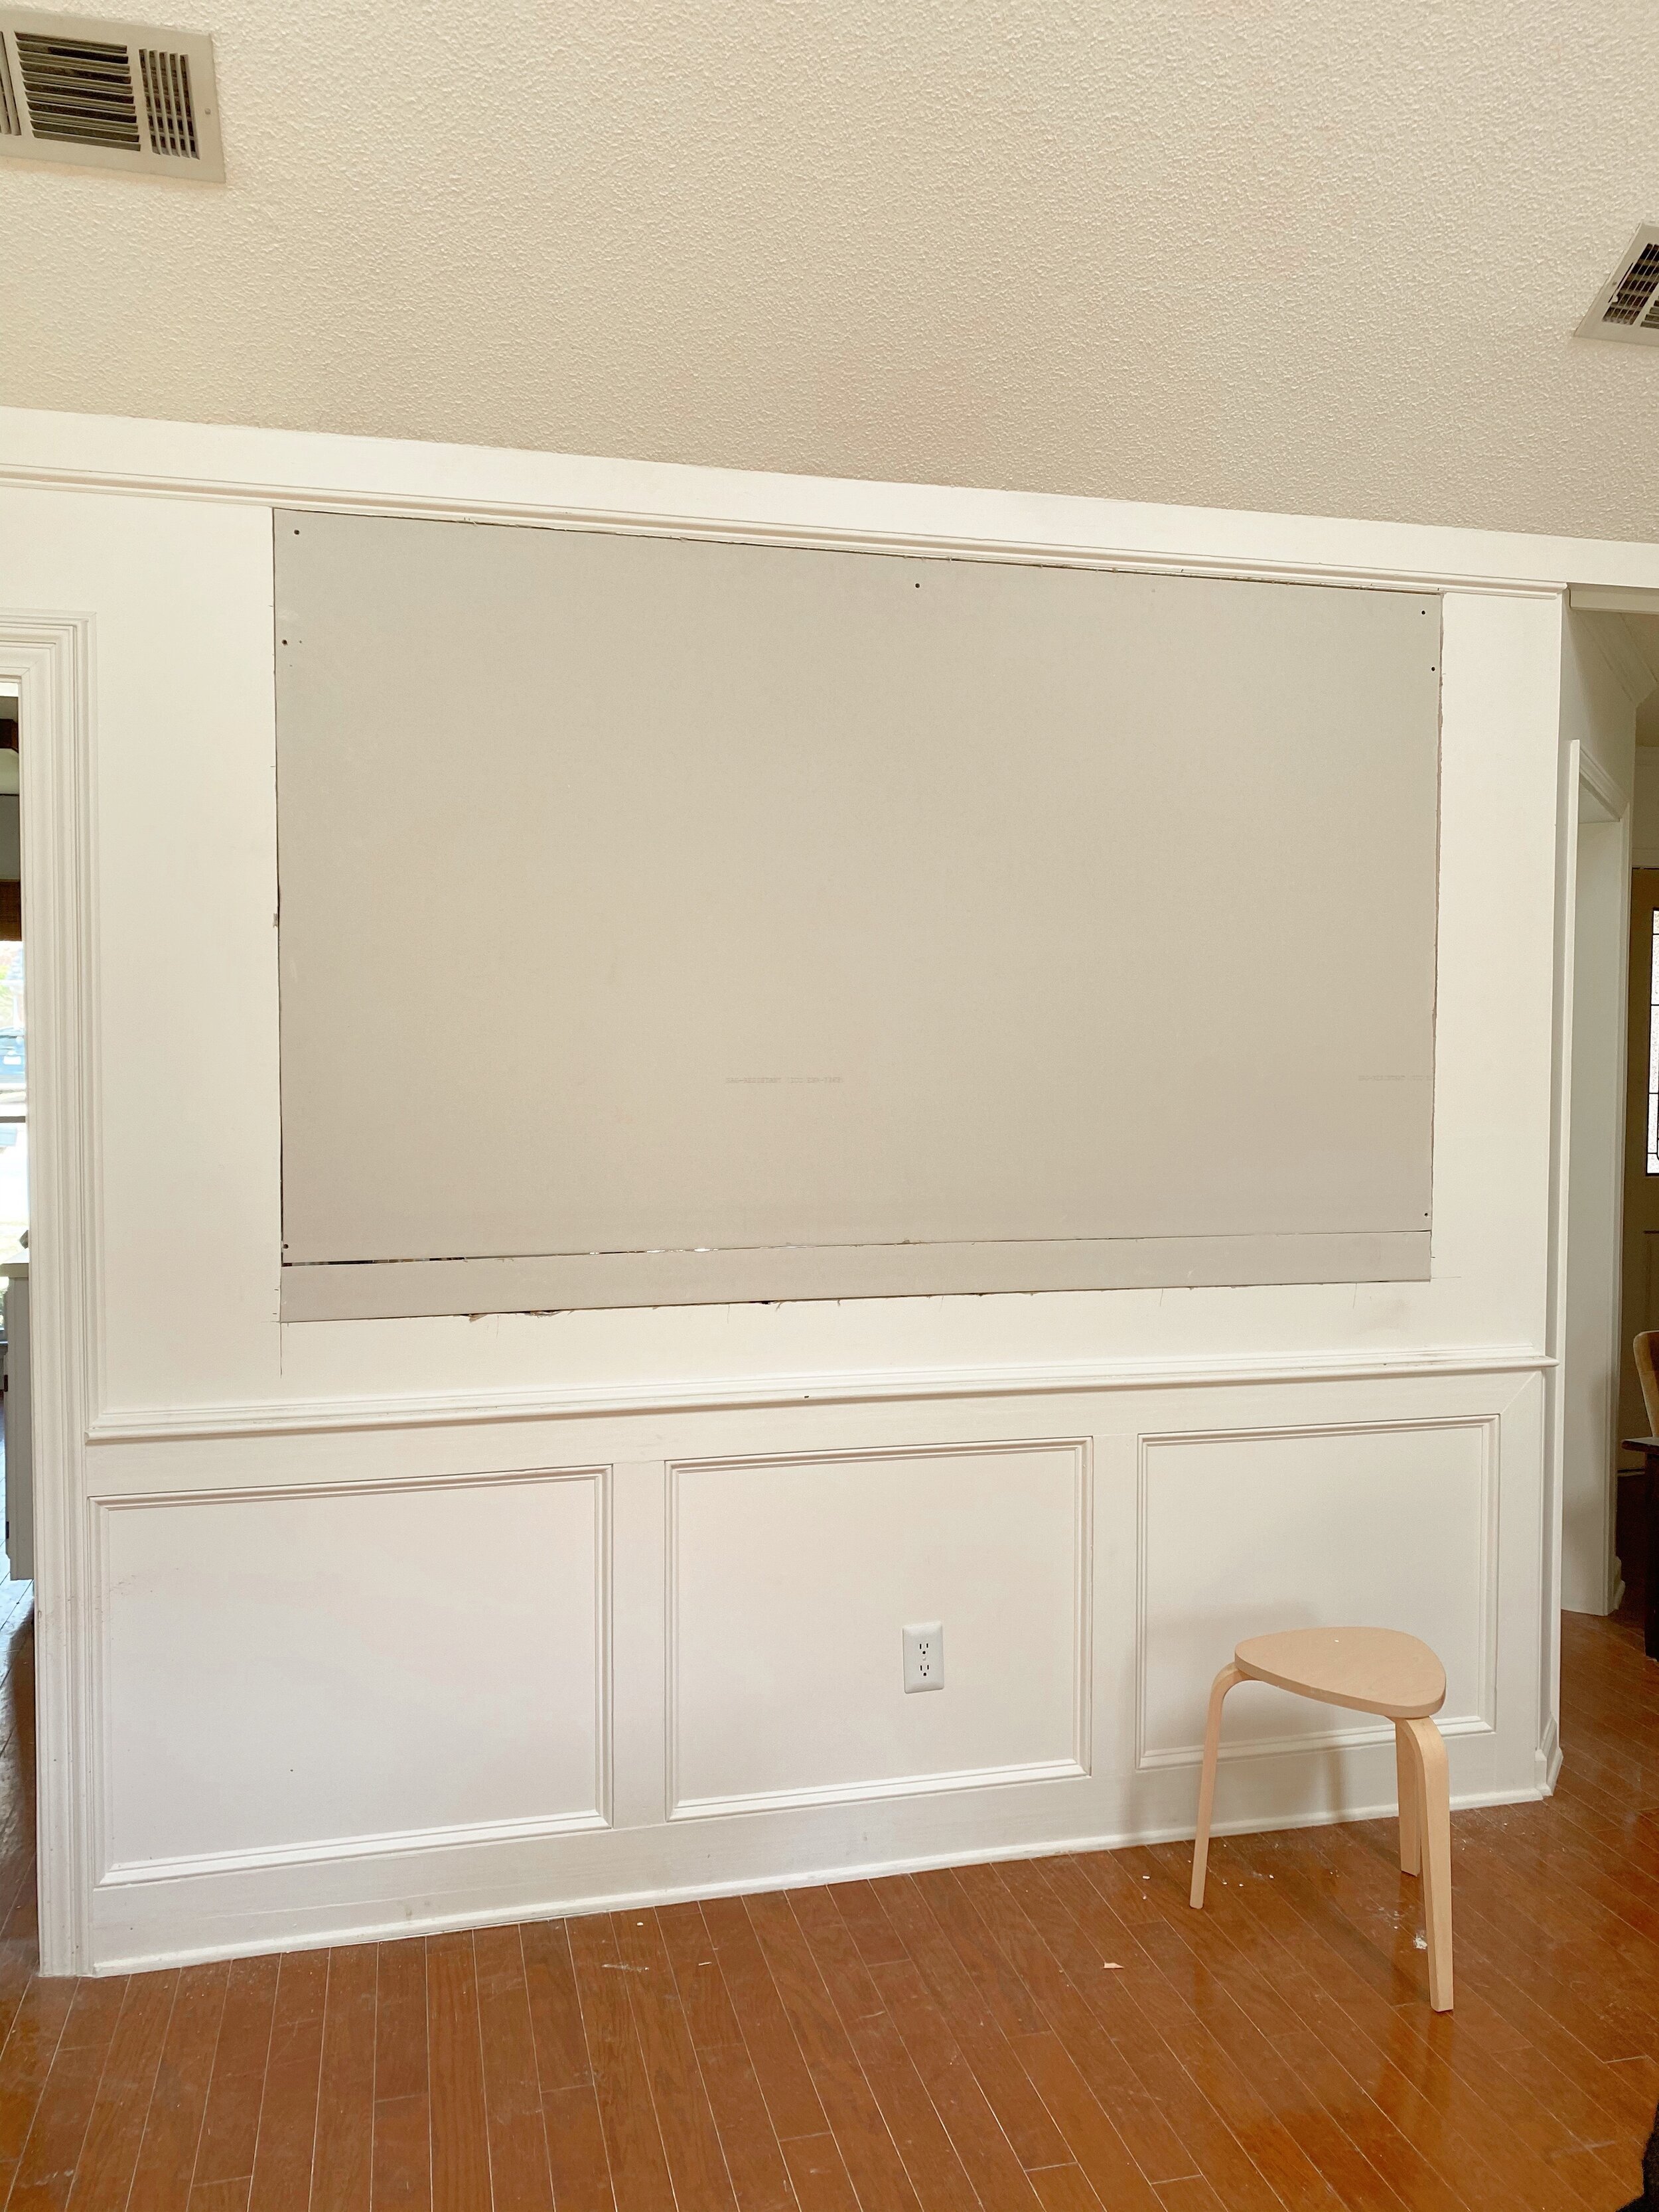
Demo Day
We used a multi-tool to cut the wall out on one side. Be sure to cut a full rectangle and not just the arch.

Removing the studs
Then we cut out the studs in the wall.
Both my husband and my dad are electricians so they handled moving the electrals — otherwise I’d make sure you hire someone if there are outlets or switches in the wall.

Placing the form
They added a 2x4 cross beam at the bottom on the arch, resting on the studs below. Once that’s in, they put the arch in place and secured it to the studs on either side and at the top beam.

Adding structure
Since this is a load-bearing wall, we had to add extra distribution for the weight. So they added 2x4’s in the spaces around the arch.

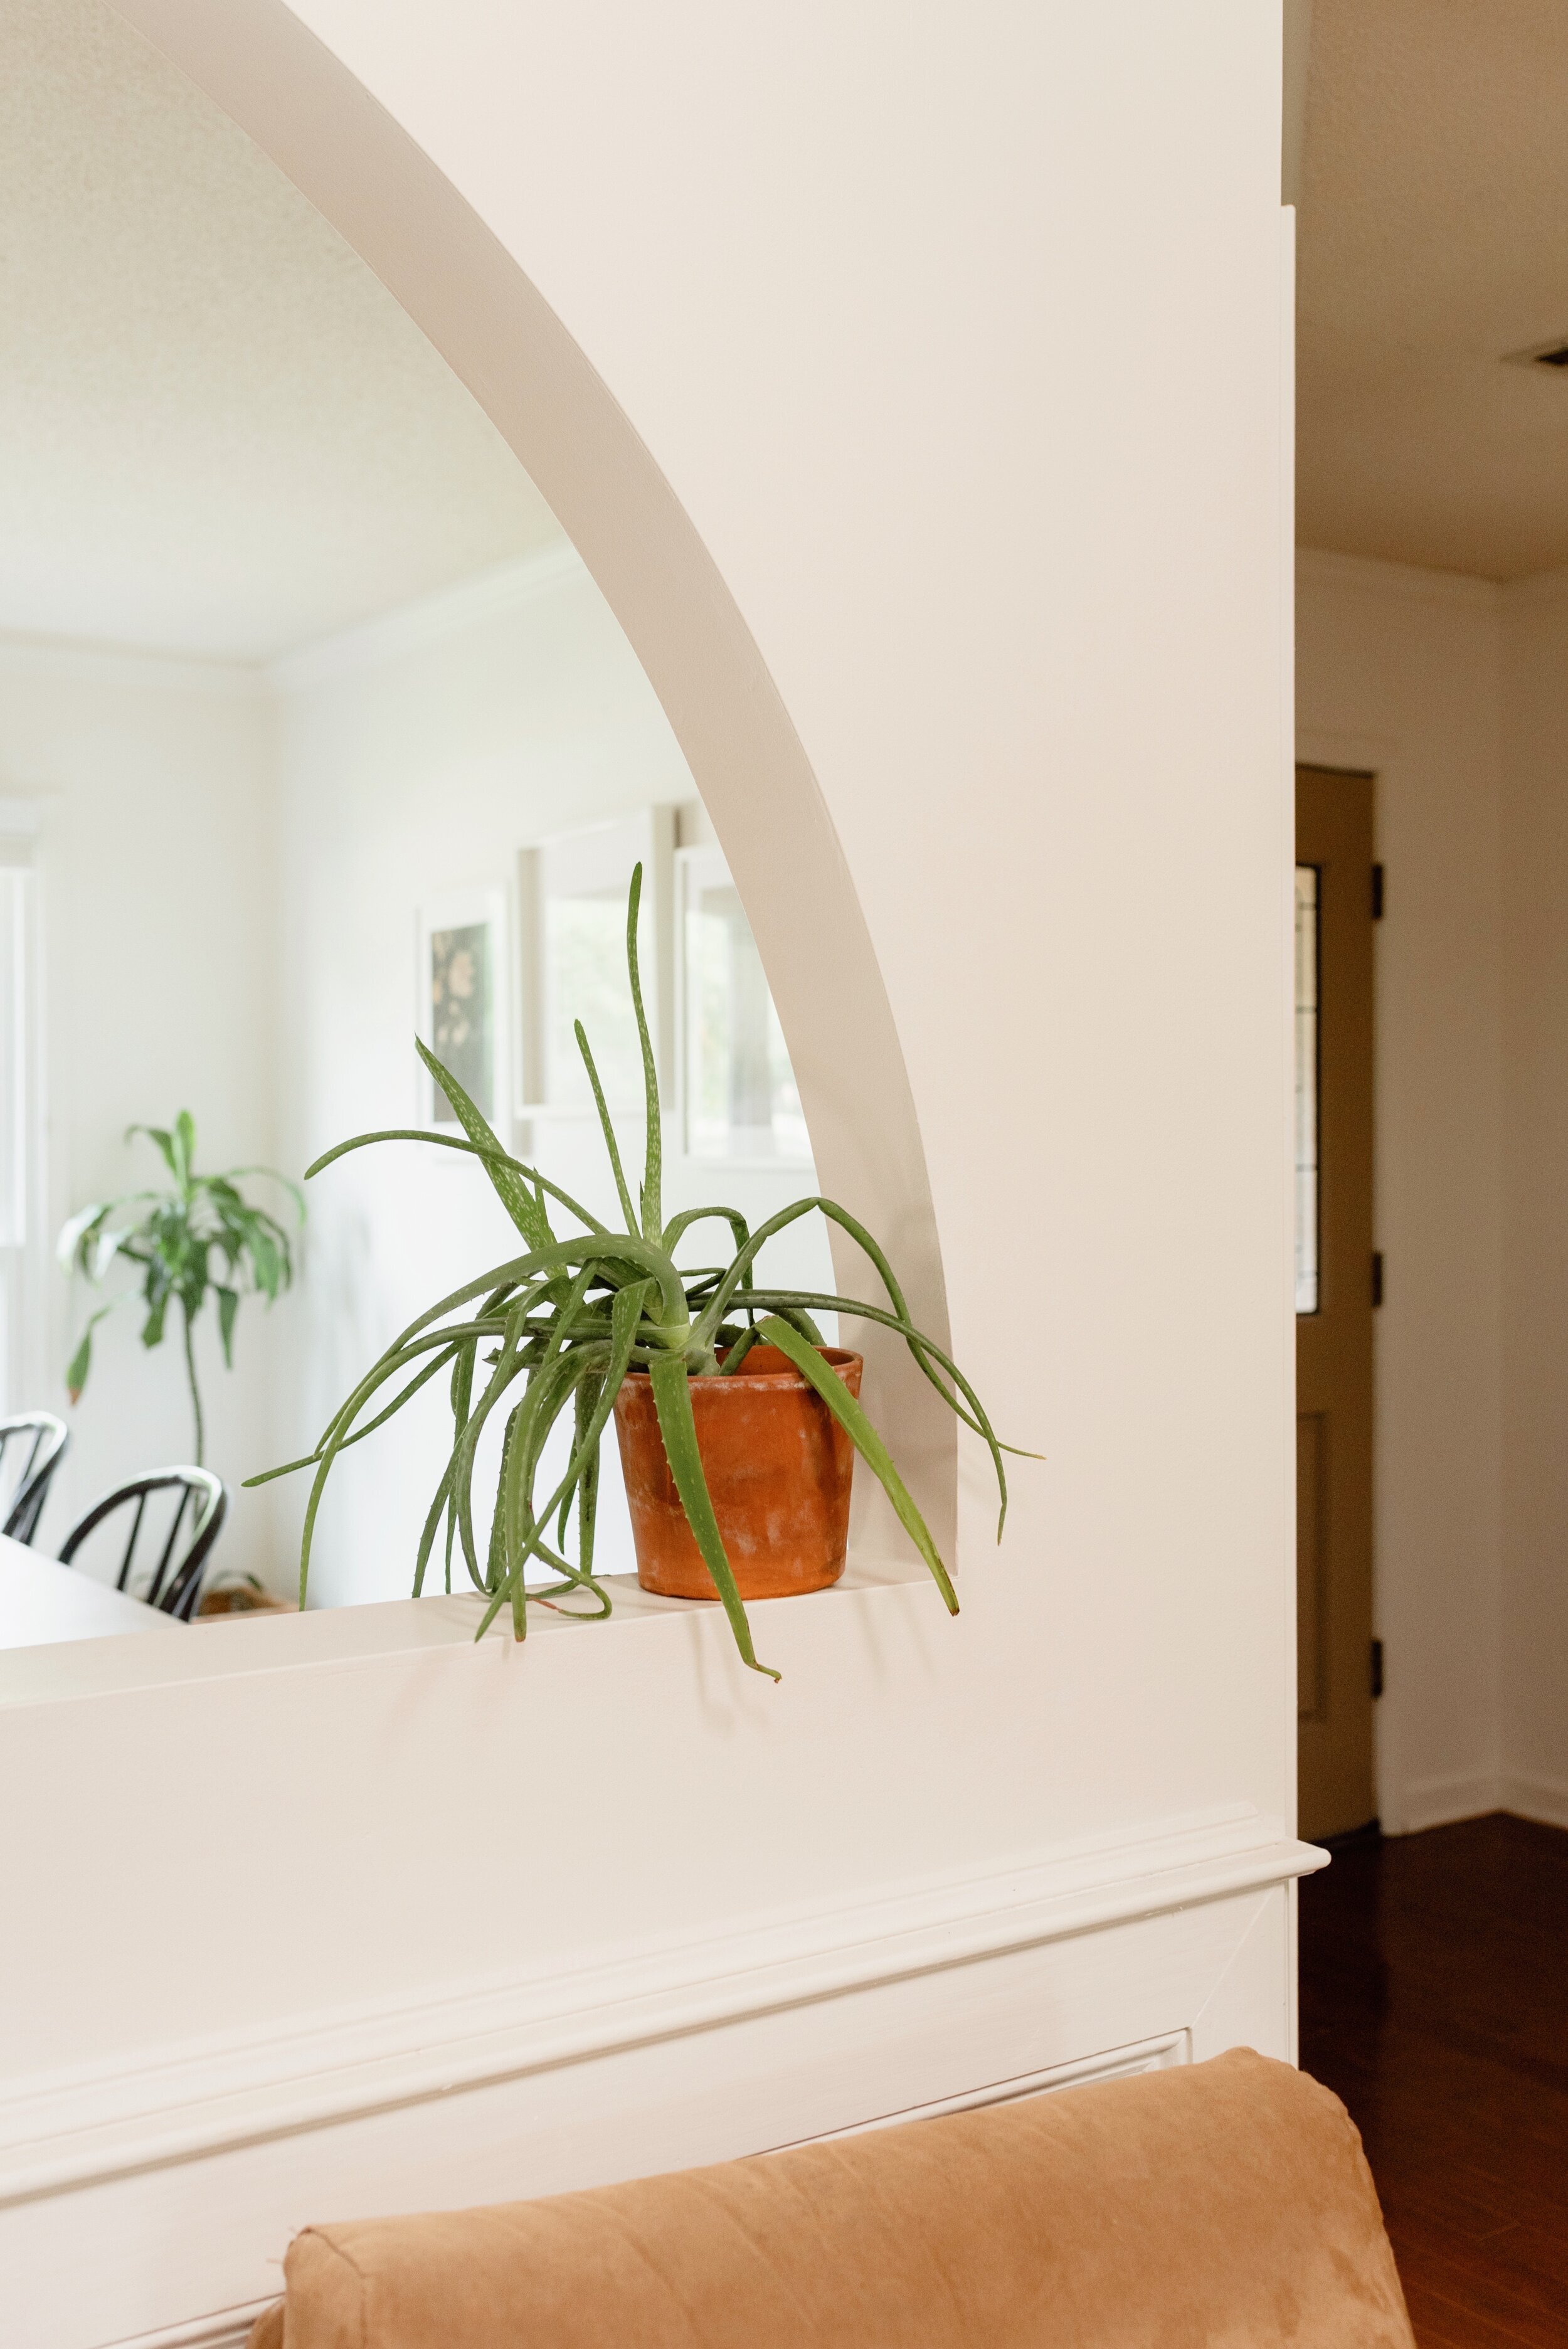
Then we used the multi-tool to trace the inside of the arch on the opposite wall and the transformation in that moment was breath-taking!
You can watch it all on my Instagram.
Then we placed fresh drywall on the side that we cut open. Then traced it the same way so that each side of the wall was now covered with drywall.
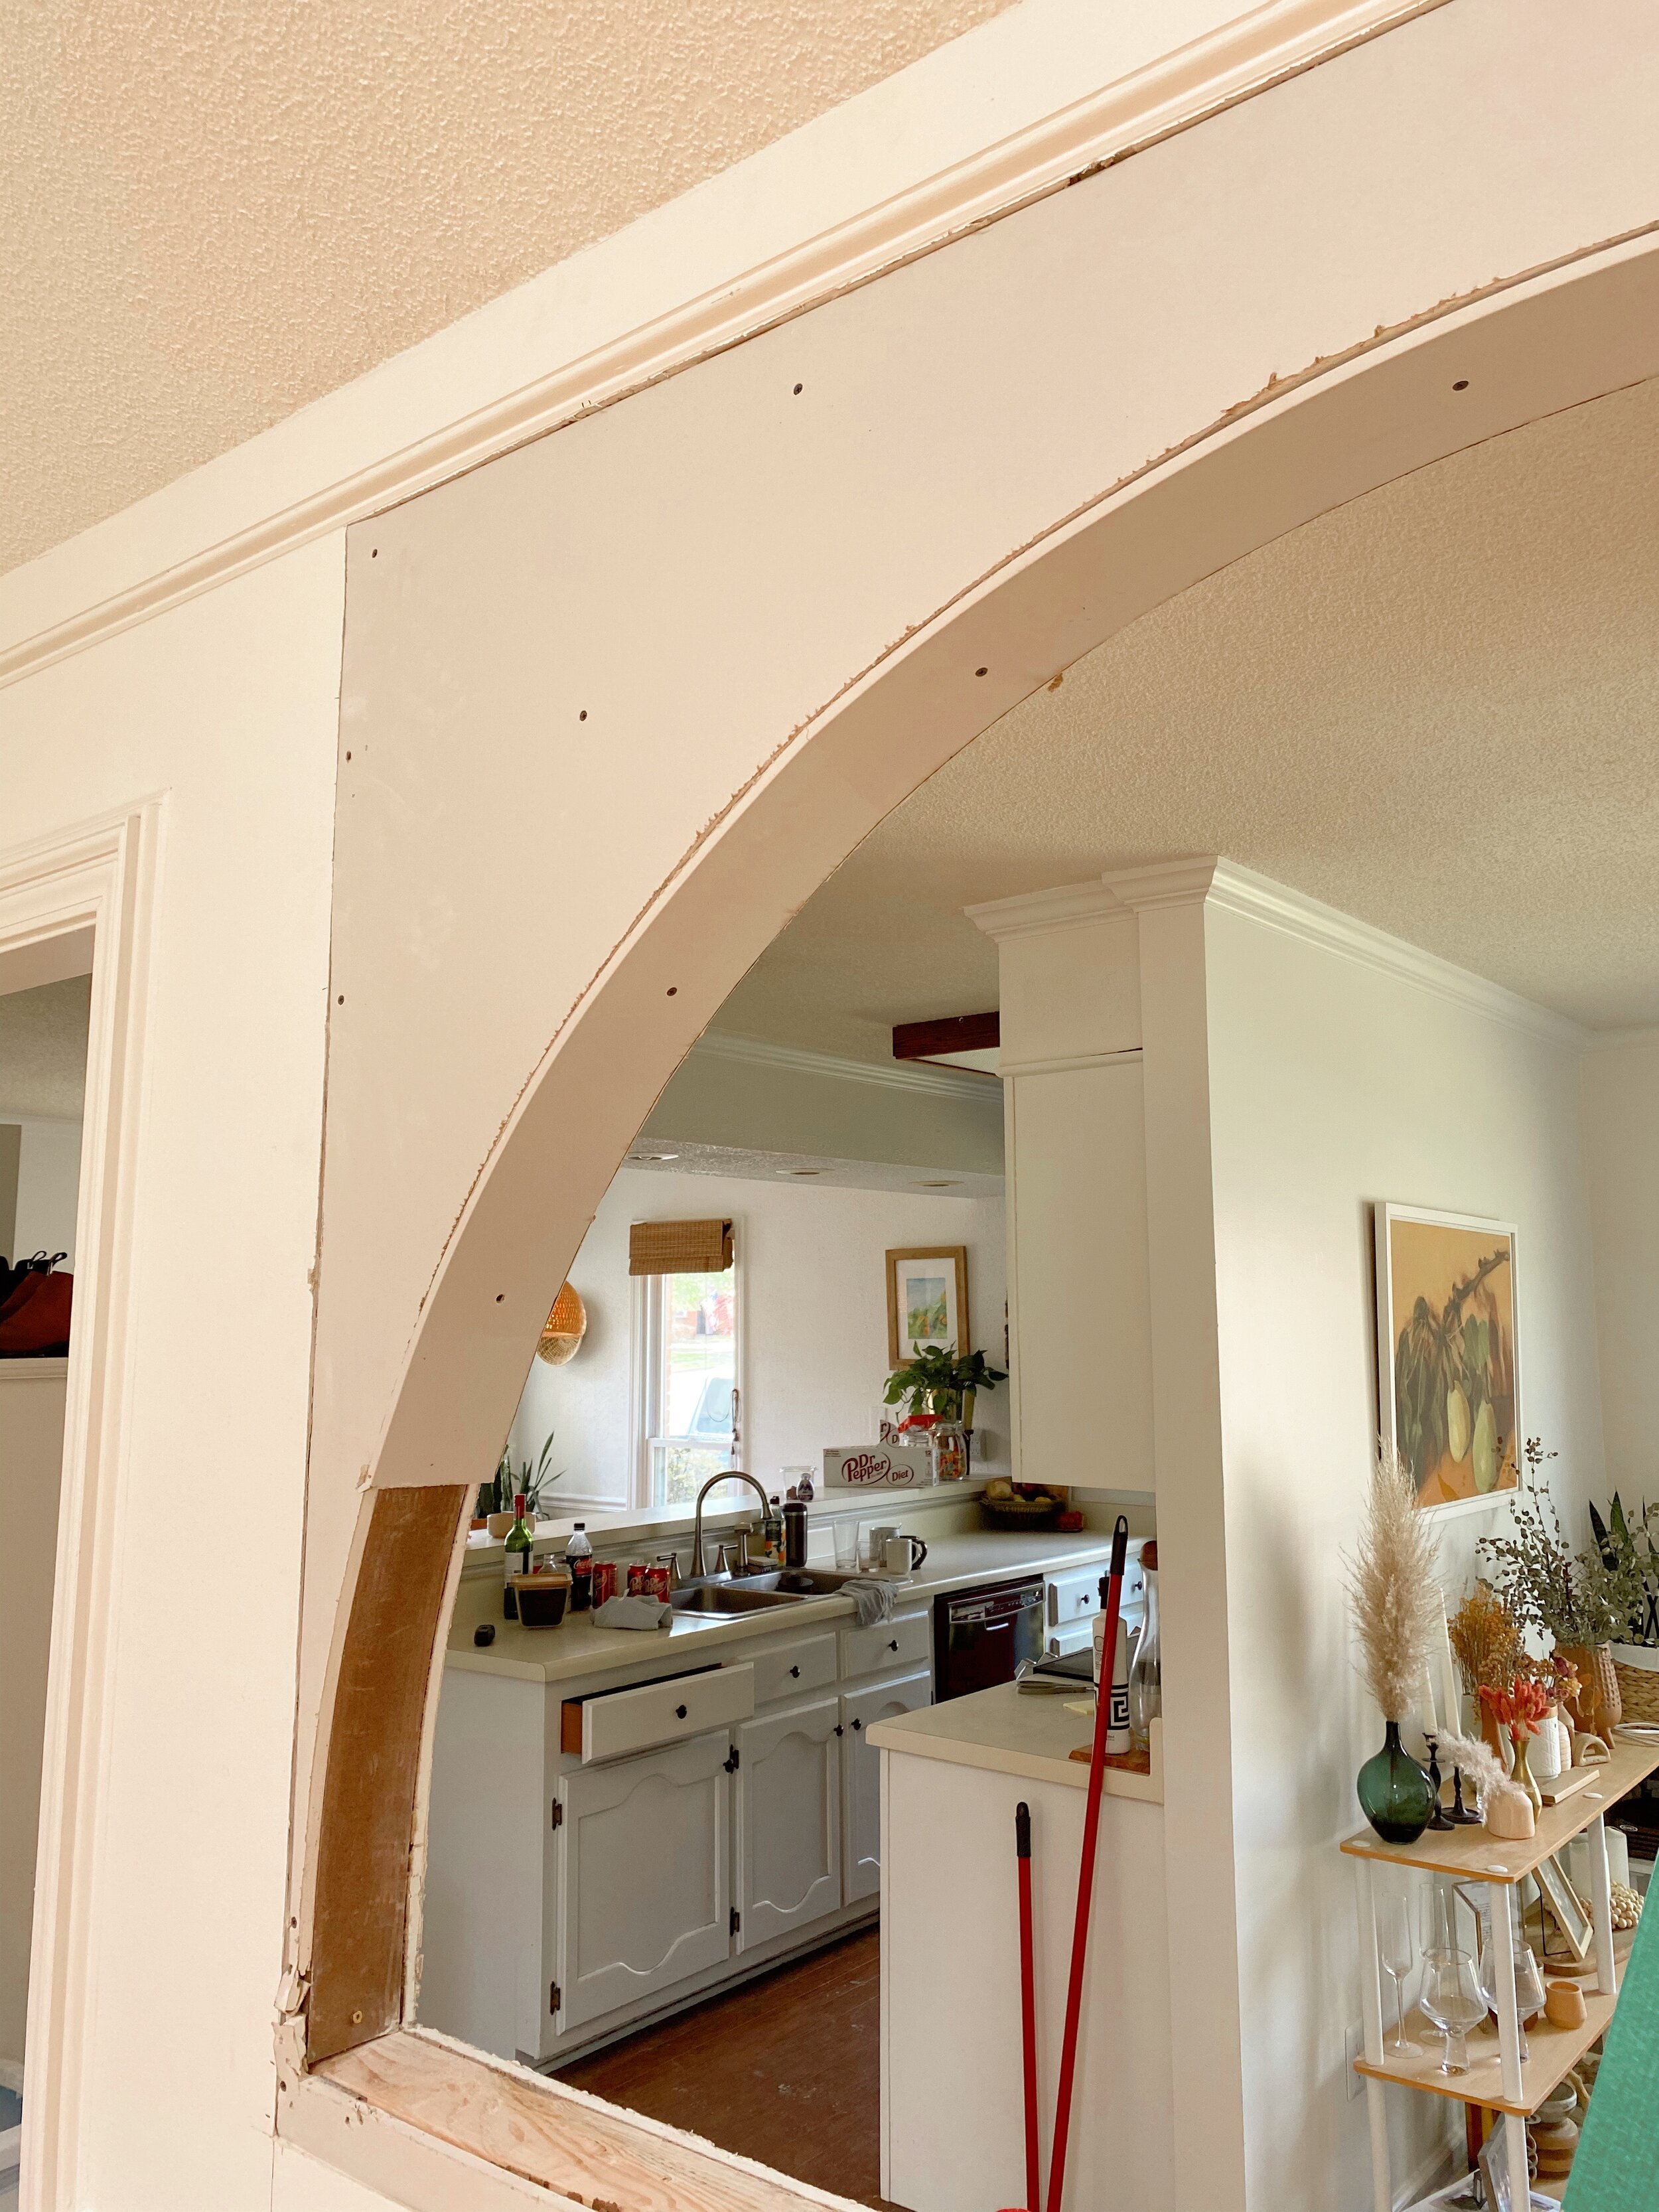
Bending drywall
To cover the interior of the arch with drywall, we cut slits that are the right width, and then we used that same plywood form from the beginning, and we slowly sprayed the slice of drywall with water and carefully formed it to the plywood arch. Once it dried, we could bring it inside and secure it to the wall.
We then spent the next 2 months working on the joint compound and smothing the wall out. It was way harder than I was expecting and we kept getting so fed-up that it ended up taking a very long time to finish lol. But we finally did and it was all SO worth it!!!